
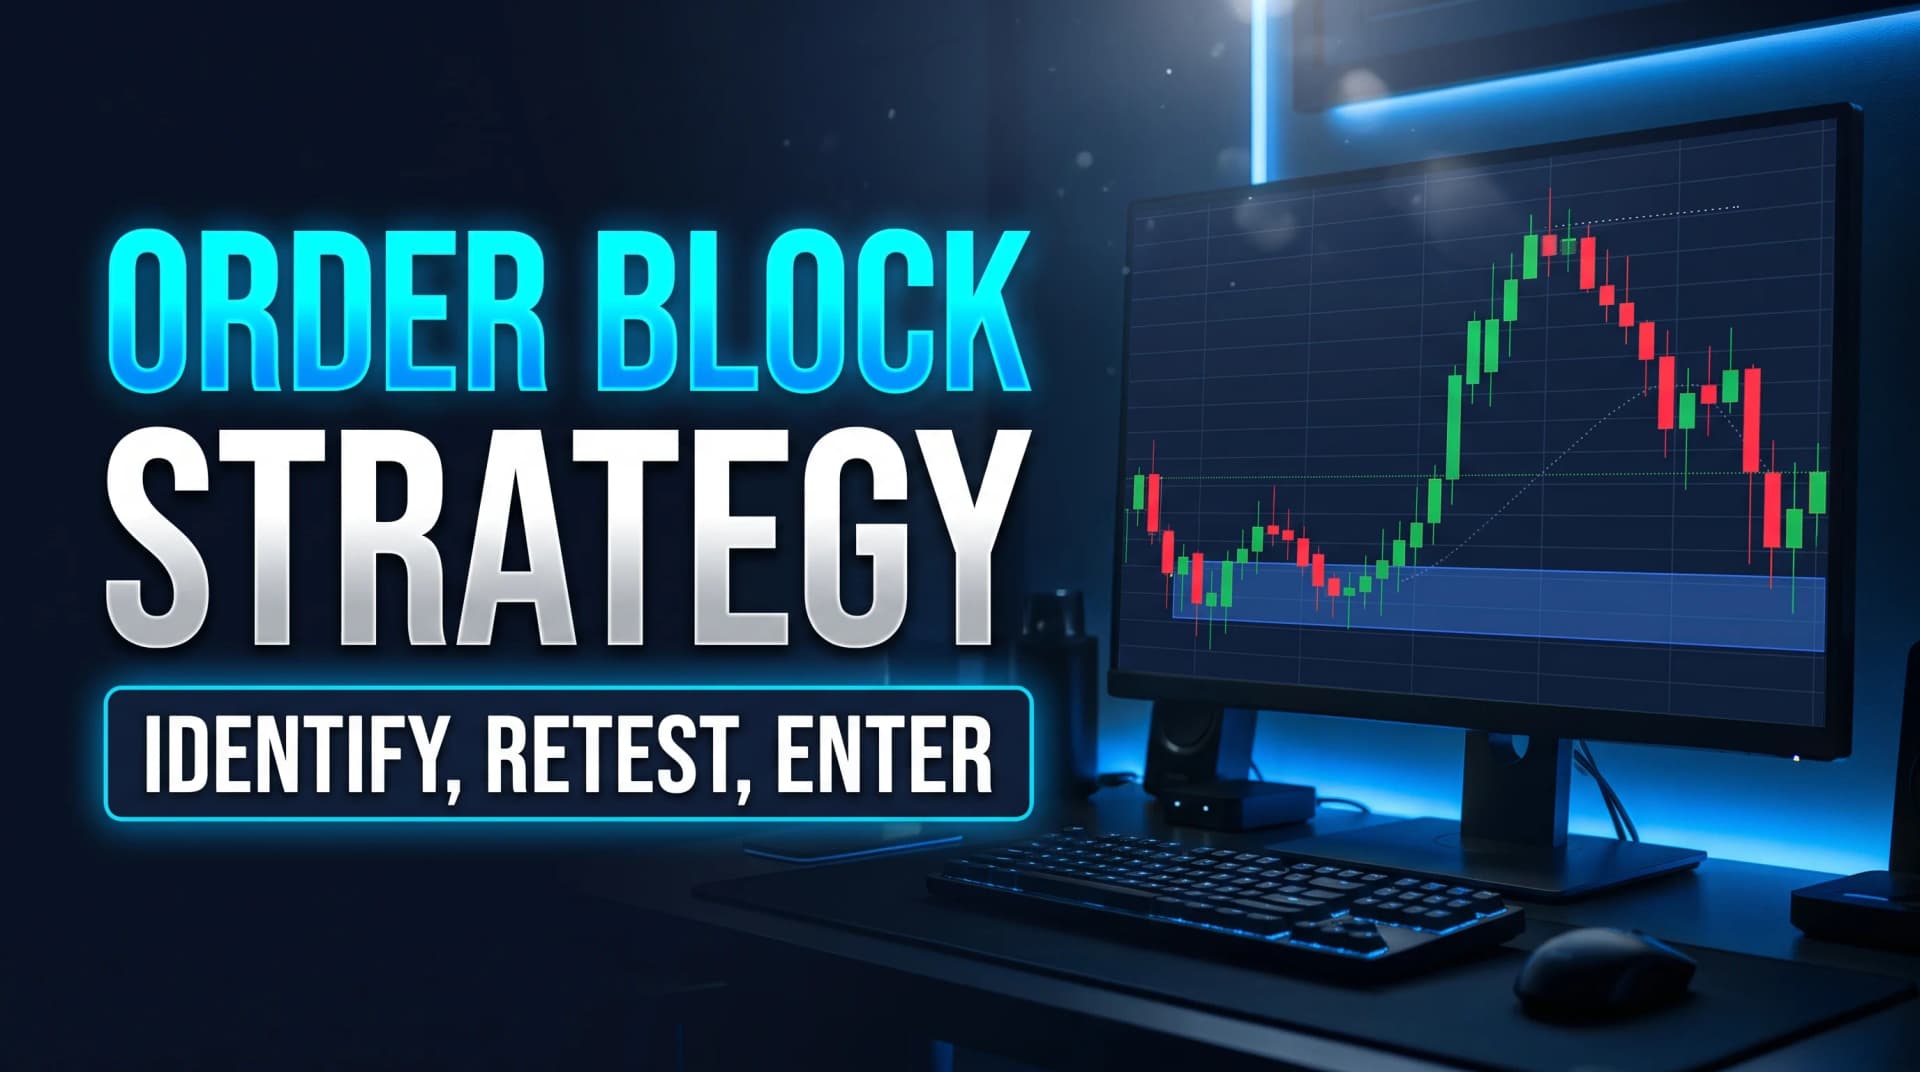
A stock drifts sideways for twenty minutes, then one red one-minute candle prints, followed immediately by four straight green candles that break the morning's high with real VolumeVolume is the total number of shares (or contracts) traded during a given time period — it's the primary confirmation tool for all price action, because a price move accompanied by high volume indicates genuine market participation, while tRead definition → behind them. An indicator draws a box around that single red candle and labels it a bullish order block. The claim: that candle marks where large buyers were quietly accumulating right before the move, and price should respect that same zone if it ever comes back to test it.
Sometimes it does. Often it doesn't. The difference between those two outcomes has very little to do with the label and everything to do with whether the candle actually meets a specific, defensible definition, and whether the retest is confirmed rather than assumed.
What is an order block? An order block is the last candle (or small cluster of candles) moving against the prevailing short-term direction immediately before a strong, impulsive move that breaks a recent high or low. The theory holds that the RangeA range (or trading range) is a price zone where a stock oscillates between a defined support floor and resistance ceiling without making meaningful new highs or lows — price is consolidating rather than trending, and the dominant trade is Read definition → of that candle marks a concentration of resting orders, and that price returning to test that range later is likely to react to it the way it reacted the first time.
Order Blocks vs. Supply and Demand Zones: A Narrower, More Specific Claim
An order block is essentially a tightly defined version of a supply and demand zone, narrowed down to a single candle or a small handful of candles immediately preceding an impulsive move, rather than a broader ConsolidationConsolidation is a period where price moves sideways within a relatively tight range after a directional move — it reflects a temporary equilibrium between buyers and sellers before the next move.Read definition → range. The supply and demand framework, covered in its own dedicated guide, generally allows for wider zones built from multiple candles of consolidation. Order block identification insists on something more precise: the exact last candle against the move, no wider than necessary.
That precision is both the concept's appeal and its biggest practical weakness, covered in more general terms in the Smart Money Concepts overview. A wider zone is more forgiving but less precise. A single-candle order block is more precise but far more sensitive to exactly how a trader (or an indicator) chooses to define its boundaries, which is where a large share of the disagreement between different SMC tools actually originates.
What Actually Qualifies as a Valid Order Block
Not every candle before a move counts, and treating every minor PullbackA pullback is a temporary counter-trend price movement within an established trend — in an uptrend, a pullback is a short-term decline that offers a lower-risk entry point before the trend resumes, as opposed to a reversal which signals theRead definition → candle as a tradeable order block is the single most common mistake in applying this concept. A defensible order block requires three things together: the candle itself moves against the direction of the upcoming impulsive move (a down candle before a bullish move, an up candle before a bearish one); the impulsive move that follows breaks a genuinely significant recent structural level, not just a minor, insignificant local high or low; and that impulsive move shows real conviction, meaningfully larger range and volume than the candles immediately around it, not a routine, unremarkable push.
A candle that technically moves the "wrong" way before a move that doesn't break meaningful structure, or that isn't followed by genuinely elevated volume, is not a defensible order block under this stricter reading, regardless of what an auto-detection indicator might label it as. This stricter filter meaningfully reduces the number of "order blocks" a chart produces, which is the point: fewer, higher-quality candidates beat dozens of low-conviction labels per session.
When Order Block Trading Is Worth Applying
This setup works best in the same conditions that govern most of this module's tools: liquid instruments with RVOL at 1.5 or higher, genuine two-sided participation, and a clear, unambiguous impulsive move to anchor the block to. Choppy, low-conviction sessions produce weak, ambiguous "impulsive moves" that don't meet the volume and structure-break criteria above, which means the setup should simply be skipped on those days rather than forced onto marginal candidates.
The Order Block Retest Setup
- Component
- Market Conditions Required
- Rule
- RVOL at 1.5 or higher; a genuinely impulsive move (2x+ average candle range) that breaks a significant recent swing high or low
- Component
- Time of Day
- Rule
- 9:30–11:00 AM ET or 3:00–4:00 PM ET
- Component
- Stock Selection Criteria
- Rule
- Liquid enough to show clean, unambiguous candle ranges; avoid thin names with erratic wicks
- Component
- Entry Trigger
- Rule
- Price retraces back into the identified order block's exact candle range and shows a rejection (a reversal candle closing back in the trade's favor) within that range
- Component
- Stop Loss
- Rule
- Beyond the far edge of the order block candle's range
- Component
- Initial Profit Target
- Rule
- The high (or low) of the impulsive move that originally formed the block, or a 1:1 R-multiple
- Component
- Trade Management
- Rule
- Hold while price continues away from the block without threatening to close back inside it; trail using each new higher low (or lower high)
- Component
- Invalidation Criteria
- Rule
- Price closes back through the order block's far edge, not just wicks into it
| Component | Rule |
|---|---|
| Market Conditions Required | RVOL at 1.5 or higher; a genuinely impulsive move (2x+ average candle range) that breaks a significant recent swing high or low |
| Time of Day | 9:30–11:00 AM ET or 3:00–4:00 PM ET |
| Stock Selection Criteria | Liquid enough to show clean, unambiguous candle ranges; avoid thin names with erratic wicks |
| Entry Trigger | Price retraces back into the identified order block's exact candle range and shows a rejection (a reversal candle closing back in the trade's favor) within that range |
| Stop Loss | Beyond the far edge of the order block candle's range |
| Initial Profit Target | The high (or low) of the impulsive move that originally formed the block, or a 1:1 R-multiple |
| Trade Management | Hold while price continues away from the block without threatening to close back inside it; trail using each new higher low (or lower high) |
| Invalidation Criteria | Price closes back through the order block's far edge, not just wicks into it |
The entry requires an actual rejection candle inside the block, not simply price touching the zone, for the same reason the Tape ReadingThe skill of interpreting real-time order flow — watching the time & sales (the "tape"), Level 2 quotes, and print sizes — to gauge the balance of buying and selling pressure and anticipate near-term price direction.Read definition → and Level 2 setups in this module require confirmation rather than a single touch: a level that gets tested and immediately reversed is meaningfully different from a level that gets tested and sliced straight through.
Walking Through a Live Order Block Trade
Picture a mid-cap stock trading in a tight range between $41.80 and $42.10 for the first twenty-five minutes of the session. At 9:57 AM ET, a one-minute candle prints red, opening at $42.00 and closing at $41.85 on below-average volume, a routine pullback candle so far.
The next candle changes the picture: a strong green candle opens at $41.86, closes at $42.35, on volume nearly triple the session's average, breaking clean through the $42.10 range high. Two more green candles follow, pushing to $42.60 with continued elevated volume. That red candle from 9:57, the last one against the move, meets all three criteria: it moved against the upcoming direction, the move that followed broke meaningful structure, and that move showed real conviction. It qualifies as a valid bullish order block, spanning $41.85 to $42.00.
At 10:22 AM, price pulls back from $42.60 toward that zone, trading down to $41.92, inside the block's range. The very next one-minute candle prints a clear rejection: opens at $41.90, dips to $41.86, and closes back at $42.15, a strong reversal candle back in the bullish direction. That's the entry trigger. A trader would buy around $42.10 as that candle closes, stop at $41.80 (below the block's far edge), initial target at $42.60, the high of the original impulsive move, fifty cents of reward against thirty cents of risk.
Managing an Order Block Trade
Once in the trade, watch for the block to hold on any subsequent retest rather than assuming one successful defense guarantees it will hold indefinitely; a level can be respected once and still fail on a second test if broader conditions shift. Continued higher lows forming above the block as price grinds toward the target confirm the structure is holding as expected.
Scale partial size at the first target, and treat any candle that closes back through the block's far edge, not merely wicks into it intrabar, as the invalidation signal, since a close through the level represents a more meaningful rejection of the zone than a brief wick.
Where Order Block Trading Breaks Down
The most honest, most common failure mode is mitigation without reaction: price returns to a technically valid order block and simply trades straight through it with no meaningful rejection at all. This happens often enough that it should be treated as a normal, expected outcome, not a rare exception, which is exactly why the setup requires waiting for an actual confirming rejection candle rather than entering the instant price touches the zone.
Boundary disagreement is the second major issue, echoing the broader critique in the SMC overview: different traders and different indicators draw the block's edges differently, using the candle's open and close, its full wick-to-wick range, or some other variation, and that inconsistency directly affects where the stop and entry get placed. This article's definition, using the full candle range for both entry and stop, is one defensible convention, not the only one in use, and a trader should be consistent with whichever definition they choose rather than switching between conventions on different trades.
Order blocks identified on very short timeframes, particularly one-minute charts, generate a high volume of low-quality candidates simply because short timeframes produce frequent impulsive-looking moves that don't reflect genuinely significant structure. Applying the stricter three-part qualification test described above matters more, not less, on shorter timeframes, precisely because the raw candidate pool is so much larger and noisier there.
Order Block Variations: Breaker Blocks and Multi-Timeframe Confluence
A breaker block describes a specific variation: an order block that fails, gets traded through, and then acts as resistance (or support) in the opposite direction on a later test, the theory being that the failure itself reveals information about which side is now in control. This is a more speculative, second-order version of the concept and should be treated with additional caution beyond the base setup, since it depends on correctly reading not just the original block but also the nature of its failure.
Order blocks identified on a higher timeframe, a 15-minute or hourly chart, generally carry more weight than the same pattern on a one-minute chart, simply because they reflect a more significant, harder-to-fake structural break. A trader looking for higher-confidence candidates can require confluence: an order block on a lower timeframe that also falls within a broader zone identified on a higher timeframe.
Where Order Block Trading Fits Inside a Complete Trading Plan
Order block trading works best as one specific, precisely defined entry technique for trading a retest of a level that already has other reasons to matter, ideally overlapping with a broader structural level identified through Market Profile or basic support and resistance, rather than as a standalone source of trade ideas generated purely by scanning charts for candles that fit the pattern. Combined with disciplined position sizing and the confirmation-based entry described above, it offers a precise, mechanical way to trade a retest. Treated as automatically reliable because an indicator labeled it, without the qualification criteria and confirmation candle this article requires, it's an easy way to trade a level that was never especially significant in the first place.
Frequently Asked Questions
What's the difference between an order block and a regular support or resistance level?
Traditional support and resistance can be built from multiple touches over an extended period without requiring a specific impulsive move immediately afterward. An order block's definition is tied directly to that one specific candle and the strength of the move that follows it, which makes it more precise but also more dependent on getting that single candle's identification right.
Key Takeaway: Order blocks are a stricter, narrower version of support and resistance tied to a specific preceding candle and a confirmed impulsive move.
Why do so many order blocks fail to hold on the retest?
Many retail traders and auto-detection indicators label candles as order blocks too liberally, without requiring the impulsive move that follows to genuinely break significant structure with real conviction. Applying the stricter three-part test in this article, and requiring a confirming rejection candle rather than entering on first touch, meaningfully improves the odds compared to trading every labeled block on sight.
Key Takeaway: Require both a strict qualification standard and a confirming rejection candle before trading any order block retest.
Should the stop go beyond the order block's wick or beyond its candle body?
There's genuine disagreement in how SMC practitioners and indicators define block boundaries. What matters most is picking one consistent convention and applying it the same way across every trade, rather than switching definitions trade to trade in a way that effectively moves the goalposts after the fact.
Key Takeaway: Pick one consistent boundary definition and apply it uniformly; consistency matters more than which specific convention is chosen.
What is a breaker block, and is it more or less reliable than a standard order block?
Because a breaker block requires correctly reading both the original block and the character of its failure, it introduces an additional layer of interpretation beyond the base setup, which makes it harder to define mechanically and more prone to the same boundary-disagreement problems as standard order blocks.
Key Takeaway: Treat breaker blocks as a higher-risk, more speculative variation, not a like-for-like substitute for a standard order block setup.
Does a higher timeframe order block carry more weight than a lower timeframe one?
Requiring confluence, a lower-timeframe order block that also sits within a broader zone identified on a higher timeframe, is one practical way to filter for higher-confidence candidates rather than trading every one-minute block in isolation.
Key Takeaway: Weight higher-timeframe order blocks more heavily, and look for confluence between timeframes when possible.
Can an order block be traded on any instrument, or does it work better on specific markets?
The same liquidity requirement that governs tape reading, Level 2, and the other tools in this module applies here: a thin instrument doesn't produce the kind of clean, high-conviction impulsive moves the qualification criteria depend on.
Key Takeaway: Reserve order block trading for liquid instruments capable of producing genuinely significant, high-volume impulsive moves.
How is an order block different from a fair value gap?
The two often appear together, since the same impulsive move that creates an order block at its starting point frequently also leaves a fair value gap somewhere within its range, but they're identified and traded using different rules.
Key Takeaway: Treat order blocks and fair value gaps as related but distinct concepts within the same impulsive move; see the fair value gap trading strategy for that specific setup.
Is it worth paying for an indicator that automatically labels order blocks?
An indicator can save time scanning charts, but blindly trusting every label it produces defeats the purpose of understanding why a genuine order block is supposed to work in the first place. Using an indicator as a starting point for manual verification, rather than a final signal, is the more defensible approach.
Key Takeaway: Use auto-detection tools to surface candidates, but manually verify each one against the qualification criteria before trading it.
Disclaimer
Article Sources
- Brock, Lakonishok, and LeBaron: Simple Technical Trading Rules and the Stochastic Properties of Stock Returns (Journal of Finance, 1992) - foundational academic study on the statistical reliability and limitations of pattern-based technical trading rules.onlinelibrary.wiley.com
- The Price Impact of Order Book Events (Cont, Kukanov, Stoikov) - academic research on order flow imbalance and price movement following high-volume, impulsive moves.papers.ssrn.com
- StockCharts ChartSchool: Volume - foundational reference on evaluating volume conviction behind a price move.chartschool.stockcharts.com