
Trading Choppy Markets: A Pro Trader's Survival Guide

In this article10 sections
A trader buys a breakout above a clean resistance level. It fails within minutes and stops them out. An hour later, the same stock dips to support, they buy the bounce, and it slices straight through. Neither trade was badly planned. The market itself had nothing to give.
That's chop — and it's one of the few market conditions where the textbook answer ("find a strategy and execute it") is actually the wrong advice. Most of the time, the highest-probability move in a choppy market is refusing to play by its rules at all.
What is a choppy market? A choppy market is one where price oscillates in a narrow, overlapping range without making sustained progress in either direction — breakouts fail, pullbacks reverse, and trend-following tools like moving averages flatten out and stop giving useful signals. It's typically confirmed by an Average Directional Index (ADX) reading below 20, and it's the market condition responsible for the most account damage among traders who don't recognize it early.
Chop Isn't the Same Thing as a Tradeable Range
These two get lumped together constantly, and the distinction matters more than almost anything else in this guide.
A tradeable range has structure. It has two boundaries that have been tested and respected more than once, reasonably consistent volume, and enough room between support and resistance to make the trade worth the risk. If the underlying mechanics of support and resistance or the basic difference between trending and range-bound markets still feel shaky, those foundational guides are worth a detour first — this article assumes both are already second nature. Range-bound trading strategies built around that kind of structure can work — the trade is fading defined edges with a real reward relative to risk.
Chop is something meaner. The range is often narrow, undefined, and shifting. There's no reliable edge to fade because the "edges" keep changing. Volume is inconsistent. Wicks pierce through what looked like support ten minutes ago. The stock isn't resting between two walls — it's drifting without a floor or ceiling anyone can trust.
The practical test: can you draw the same two horizontal lines on a 5-minute chart, a 15-minute chart, and a daily chart, and have them all roughly agree? If yes, it's probably a genuine range, and the mechanics in the Range Trading Strategy Playbook apply. If the lines keep needing to be redrawn, it's chop — and the setup below is a much more selective, defensive version of range trading built for exactly that mess.
Confirming Chop With ADX Instead of Your Gut
Feel isn't a great filter. Every trader who's blown up in a choppy stretch will tell you it felt obvious in hindsight and confusing in the moment. What isn't confusing is a properly read Average Directional Index.
Developed by J. Welles Wilder and detailed in his 1978 book New Concepts in Technical Trading Systems, the ADX measures trend strength on a scale of 0–100, independent of direction. A widely used rule of thumb: readings below 20 point to a non-trending, range-bound tape, while readings above 25 confirm a real trend is underway. Between 20 and 25 is a gray zone — not a green light either way.
Three confirming signals to stack alongside ADX:
- Flat, tangled moving averages. When the 9, 20, and 50-period lines are crossing back and forth with no clean separation, there's no dominant side.
- A low or declining VIX. A VIX reading in the low-to-mid teens generally reflects market complacency — calm, directionless conditions with little fear or urgency behind price moves. That's a broad-market signal, not a single-stock one, but it sets the tone for the tape a given stock is trading against.
- Compressed Bollinger Bandwidth. When the bands squeeze tighter than their recent average, volatility has contracted — a hallmark of consolidation, and often the calm before either a real breakout or another leg of chop.
None of these alone proves chop. Together, they turn a feeling into a checklist.
The Confirmed Edge Fade: A Setup Specification for Chop
Most of the time in chop, the correct trade is no trade. But there's one setup worth having in reserve for the moments when a range genuinely holds long enough to fade it with discipline — not the aggressive, high-frequency range trade some guides describe, but a slower, far more selective version built to survive false signals.
- Component
- Market Conditions Required
- Rule
- Daily ADX(14) below 20 and flat or falling; price contained inside a horizontal range for at least 5–7 sessions with each boundary tested and held at least twice; broad-market VIX in roughly the 12–18 band
- Component
- Time of Day
- Rule
- 10:00 AM–3:00 PM ET only — the first 30 minutes and last 15 minutes are excluded
- Component
- Stock Selection Criteria
- Rule
- Price above $10, average daily volume above 1 million shares, ATR(14) compressed to 50% or less of its 20-day average
- Component
- Entry Trigger
- Rule
- Price trades within 0.10–0.15x ATR of a boundary that has already held twice, and a rejection candle (long wick, doji) closes back inside the range on the 5-minute chart
- Component
- Stop Loss
- Rule
- Placed beyond the boundary by a fixed 0.25x ATR increment, or beyond the high/low of the rejection candle — whichever is tighter
- Component
- Initial Profit Target
- Rule
- Scale out roughly half the position at the range midpoint (or VWAP, whichever sits closer); hold the remainder for the opposite boundary only if RVOL picks up in your favor
- Component
- Trade Management
- Rule
- If price closes beyond a boundary while ADX is rising, the range thesis is dead — exit any remaining position immediately, don't wait for a retest
- Component
- Invalidation Criteria
- Rule
- ADX crosses above 25 alongside a directional close beyond either boundary; that combination ends the chop-fade thesis entirely, not just for that trade
| Component | Rule |
|---|---|
| Market Conditions Required | Daily ADX(14) below 20 and flat or falling; price contained inside a horizontal range for at least 5–7 sessions with each boundary tested and held at least twice; broad-market VIX in roughly the 12–18 band |
| Time of Day | 10:00 AM–3:00 PM ET only — the first 30 minutes and last 15 minutes are excluded |
| Stock Selection Criteria | Price above $10, average daily volume above 1 million shares, ATR(14) compressed to 50% or less of its 20-day average |
| Entry Trigger | Price trades within 0.10–0.15x ATR of a boundary that has already held twice, and a rejection candle (long wick, doji) closes back inside the range on the 5-minute chart |
| Stop Loss | Placed beyond the boundary by a fixed 0.25x ATR increment, or beyond the high/low of the rejection candle — whichever is tighter |
| Initial Profit Target | Scale out roughly half the position at the range midpoint (or VWAP, whichever sits closer); hold the remainder for the opposite boundary only if RVOL picks up in your favor |
| Trade Management | If price closes beyond a boundary while ADX is rising, the range thesis is dead — exit any remaining position immediately, don't wait for a retest |
| Invalidation Criteria | ADX crosses above 25 alongside a directional close beyond either boundary; that combination ends the chop-fade thesis entirely, not just for that trade |
The stop-loss rule is the one traders violate constantly, and it's the one that actually protects the account. A 0.25x ATR stop in a stock with a genuinely compressed range is small — which is the point. Chop-fades are built to be right often, at small size, for small reward. Widen the stop chasing a bigger target and the entire risk profile of the setup collapses.
A Walk-Through: Fading a Six-Session Standstill
Picture a mid-cap software name — call it XYZ, trading around $43 — that just finished a strong run and has now gone quiet. For six straight sessions, it's failed to close above $44.60 and failed to close below $42.10. Each test of both levels came on declining volume. ADX on the daily chart has drifted from 28 down to 16 over that stretch.
On day seven, XYZ opens flat and drifts down to $42.20 by 10:40 AM ET. RVOL is running at 0.8 — below average, consistent with the general listlessness of the range. A 5-minute doji forms right at $42.15, wicking to $42.08 before closing back at $42.22.
That's the entry: a rejection candle at a boundary that's already held twice, inside the approved trading window, with a compressed ATR confirming the range is real. The stop goes at $41.95 — below both the rejection candle's low and the 0.25x ATR buffer. The first target is the range midpoint, roughly $43.35, where half the position comes off. The stock grinds up to $43.40 by early afternoon; the second half trails toward $44.20 before RVOL fades again and the position is closed flat into the range's upper third.
Total realized move: about $1.15 on the first half, roughly $0.85 on the trailed second half. Unremarkable by trend-day standards — and that's exactly the point. The trade wasn't designed to make a fortune. It was designed to have a real, quantifiable edge in a condition where almost nothing else does.
Now picture the alternate version of day seven: instead of the doji rejection, XYZ closes a 5-minute bar at $41.80 — clean through the boundary — and ADX ticks up to 23 with rising volume. That's not a fade setup anymore. That's the invalidation criteria firing, and the correct response is to not be in the trade at all.
Sizing Down and Getting Out When the Range Breaks
Position size in a chop-fade should run smaller than a normal trend trade from the outset — many traders find half their usual size reasonable, given how often even a well-confirmed range produces a false signal before it produces a real one.
Scaling out at the midpoint isn't optional caution; it's structural. Chop rarely delivers the full width of the range on a single attempt, and holding for a bigger number usually means giving back the gain when momentum stalls again three-quarters of the way there.
The harder discipline is the exit that has nothing to do with the stop-loss: closing a position early because ADX is turning up mid-trade, even though price hasn't hit the stop yet. That's a specific, mechanical override built into the Trade Management rule above — not a discretionary "feeling" call. If the range's own confirming indicator flips, staying in the trade on hope is how a small, controlled loss becomes a much larger one.
Where the Confirmed Edge Fade Breaks Down
This setup fails most often at the exact moment it looks cleanest — a boundary that's held three or four times in a row starts to feel unbreakable right before it breaks. The fourth or fifth test of a level statistically carries more breakout risk than the first or second, precisely because so many traders are fading it by then, thinning out the opposing side.
It also degrades badly in low-volume conditions — summer sessions, holiday weeks, the dead stretch between earnings seasons — where spreads widen and a "clean" rejection candle can just be noise from a handful of contracts. The Pro Trader's Playbook for Low-Volume, Low-Volatility Markets covers that specific variant in more depth, because the adjustments needed there go beyond what fits in this framework.
And it fails whenever a trader can't resist "one more fade" after the setup has already paid out once. A systematic falsification study of intraday futures signals found that pullback-entry variants of opening-range strategies produced an 80.7% stop-out rate in one tested dataset — a stark illustration of how often a plausible-looking mean-reversion entry simply doesn't work once real money and real friction are involved. Chop punishes overuse of any single idea, no matter how sound the underlying logic.
Adapting the Framework: Low-VIX Drift vs. High-VIX Whipsaw
Not all chop looks the same, and treating it as one uniform condition is a mistake.
Low-VIX drift — the kind described throughout this guide — is quiet, narrow-range, low-conviction chop. It shows up during complacent stretches when the broad market has nothing pushing it in either direction. The Confirmed Edge Fade above is built for this environment specifically.
High-VIX whipsaw is a different animal entirely: wide, violent, headline-driven swings that look directional for twenty minutes before reversing hard. ADX can actually read moderately high during this kind of chop because of the sheer size of the moves, even though there's no sustained trend underneath them. That version needs wider stops, smaller size, and a completely different playbook — covered in A High-VIX Trading Strategy. Don't apply the tight 0.25x ATR stop from this guide to a high-VIX tape; it will get run over by normal volatility that has nothing to do with the trade being wrong.
Scanning for the Exception While the Broad Tape Is Dead
The broad market being choppy doesn't mean every individual stock is. Somewhere, a sector or a single name is usually ignoring the malaise — reacting to its own catalyst while the indices drift. Finding that exception by scrolling through charts manually isn't realistic; it needs a scanner built for exactly this job.
A platform like Trade Ideas is well suited here, not as a chop-fade tool but as a filter for relative strength and weakness: a real-time scan for unusual relative volume, new session highs or lows against a flat broad tape, or sector groups quietly diverging from the S&P. When those scans stay quiet, that's a data point in favor of standing aside. When they surface a genuinely clean setup elsewhere, it's a small, targeted place to deploy size instead of forcing a fade on a stock that hasn't earned it.
Where This Fits a Broader Trading Plan
A trading plan that doesn't specify what to do in chop is an incomplete plan. It's easy to write rules for trend days and range days and never address the condition that actually produces the most frustrated, undisciplined decision-making — the stretch where nothing works and everything feels like it should.
Building that condition into a plan means defining, in advance, the ADX threshold that triggers reduced size, the maximum number of chop-fades allowed per session before stepping away, and the specific language for "I am not trading this stock right now" that doesn't slide into boredom trades on something else instead. Developing patience and staying objective during exactly this kind of stretch is as much a part of the setup as the ADX reading is — arguably more of one, since the mechanical rules only work if they're actually followed when the tape is at its most boring.
Newer traders working through the basics of adapting to bull, bear, and choppy conditions should treat that guide as the starting point and this one as the deeper, mechanical follow-up. For the full library of setups this framework sits alongside — trend days, breakouts, reversals, and everything in between — the Strategies Hub is the place to browse by condition.
Frequently Asked Questions About Trading Choppy Markets
How does trading genuine chop differ from trading a normal, tradeable range?
A real range shows the same support and resistance levels whether you're looking at a 5-minute, 15-minute, or daily chart, with consistent volume at each test. Chop often looks range-like on one timeframe and completely different on another, with volume that spikes and dies unpredictably. Trading chop like a clean range — full size, wide targets — is how a reasonable strategy turns into a series of small, grinding losses.
Key Takeaway: Confirm structure across at least two timeframes before treating a range as tradeable rather than as chop.
Why does an ADX reading below 20 matter more than a chart simply looking sideways?
Visual pattern recognition is notoriously biased — a trader who wants to see a trend will often find one in noise. ADX doesn't have that bias; a reading below 20 is a quantified, repeatable signal that trend-following tools are unlikely to produce reliable signals right now. It won't predict when the chop ends, but it consistently confirms whether it's happening.
Key Takeaway: Use ADX as the objective filter that overrides whatever a chart appears to be telling you emotionally.
What relative volume threshold should disqualify a chop-fade setup entirely?
The Confirmed Edge Fade above is built around low-conviction drift, where volume at the range extremes tends to run at or below average. A sudden RVOL spike right at a boundary is often the market telling you this test is different from the last two — and that's exactly the situation where fading the level gets a trader run over by a genuine breakout instead of a false one.
Key Takeaway: Treat a volume spike at the boundary as a reason to stand aside, not as extra confirmation to enter.
Why do opening-range breakout strategies fail more often specifically during chop cycles?
Research testing intraday breakout signals against historical futures data has found meaningfully worse results — including sharply elevated stop-out rates on pullback-entry variants — once a market lacks sustained follow-through. That pattern matches what ADX below 20 already implies: there's no committed directional participation to carry an early breakout past its first test.
Key Takeaway: Save opening-range breakout strategies for sessions where ADX is already rising, not for confirmed chop.
How should position size actually change between a falling ADX and a flat ADX?
A flat, low ADX that's held steady for a week reflects an established, if temporary, equilibrium — the Confirmed Edge Fade's assumptions are more likely to hold. A sharply falling ADX means the market is mid-transition from trend to chop, and the boundaries of any apparent range haven't been tested enough times yet to trust. Reduce size further in the falling-ADX case until the range proves itself over several sessions.
Key Takeaway: A newly falling ADX deserves smaller size than an ADX that's been flat and range-bound for a week or more.
What's the real difference between low-VIX drift and high-VIX whipsaw chop?
Both conditions can register a similarly unhelpful ADX reading, but the risk profile is completely different. Low-VIX drift punishes traders who force size into nothing happening. High-VIX whipsaw punishes traders who use tight stops sized for a quiet tape against moves that are simply larger by nature. Confusing the two is one of the fastest ways to get a stop-loss placement badly wrong.
Key Takeaway: Match stop width and position size to which flavor of chop is actually present, not to a single fixed rule.
Why does widening a stop-loss on a chop-fade destroy the setup's entire edge?
A 0.25x ATR stop assumes the range genuinely holds; if it doesn't, the loss should stay small and quick. Widening the stop to "give it room" converts a fast, disciplined loss into a slow, larger one, and it does so specifically in the condition where false signals are most common. The math behind the setup only works if losers stay small and frequent wins stay consistent.
Key Takeaway: A widened stop in chop isn't a more patient trade — it's a different, worse trade wearing the same setup's name.
How many chop-fades in a single session is too many?
Chop tends to produce a handful of legitimate boundary tests per session at most; anything past that is often a trader manufacturing entries out of boredom or a need to "do something." Each additional low-quality fade adds commission and slippage costs without a proportional edge to justify it.
Key Takeaway: Cap chop-fade attempts per session in advance, rather than deciding in the moment when frustration is already building.
What kind of scan would actually find relative-strength exceptions during a chop cycle?
The goal isn't finding any moving stock — it's finding one moving while the indices and most of its peers are doing nothing. Layering a sector-relative filter on top (a stock breaking out while its own sector ETF is flat) sharpens the scan further and cuts down on false positives from stocks simply drifting on light volume.
Key Takeaway: Build the scan around divergence from the broad tape, not around movement in isolation.
Does the Confirmed Edge Fade work the same way on index ETFs like SPY or QQQ as it does on individual stocks?
SPY and QQQ typically show tighter relative ranges than an individual mid-cap stock, meaning the same 0.10–0.15x ATR entry zone and 0.25x ATR stop will produce a much smaller dollar move. Traders applying this framework to index ETFs generally need to either use options or a larger contract size to make the trade worth the transaction cost, or accept a smaller per-trade return in exchange for the ETF's typically higher liquidity and tighter spread.
Key Takeaway: Recalibrate ATR multiples to the specific instrument rather than assuming a stock-based framework transfers directly to an index ETF.
Why is choosing not to trade considered part of the setup rather than the absence of one?
Framing "no trade" as a passive fallback makes it easy to abandon under pressure, since there's no defined rule being followed. Framing it as the direct output of a checklist — ADX confirms chop, no boundary has held twice yet, RVOL is elevated at the level — makes standing aside just as procedural as entering a trade, and considerably easier to stick to when frustration builds.
Key Takeaway: Write "stand aside" into the plan with the same specificity as an entry trigger, not as an unwritten last resort.
Disclaimer
Article Sources
- Average Directional Index (ADX) — StockCharts ChartSchool - explains the ADX/DMI system Wilder developed and how the indicator is calculated and read.
- Average Directional Index — Fidelity Viewpoints - covers the practical convention of reading ADX above 25 as trending and below 20 as non-trending.
- What Is the VIX Index? — Investing.com Academy - outlines VIX level bands and their association with market complacency versus fear.
- Structural Limits of OHLCV-Based Intraday Signals in MNQ Futures - a systematic falsification study testing common intraday breakout signals, including opening-range and pullback-entry variants, against historical futures data.
- StockCharts Insider: John Murphy's Law #9 — Trend or Not a Trend - discusses using ADX slope, not just level, to separate genuine trends from sideways chop.
Was this helpful?
Be the first to weigh in

Written by
Kazi Mezanur RahmanFounder, independent researcher, and editor of DayTradingToolkit. A one-person publication focused on risk-first trading education and documented tool research. He trades his own capital as a retail trader and combines personal market experience with systematic primary-source research.
Keep Reading
Strategies
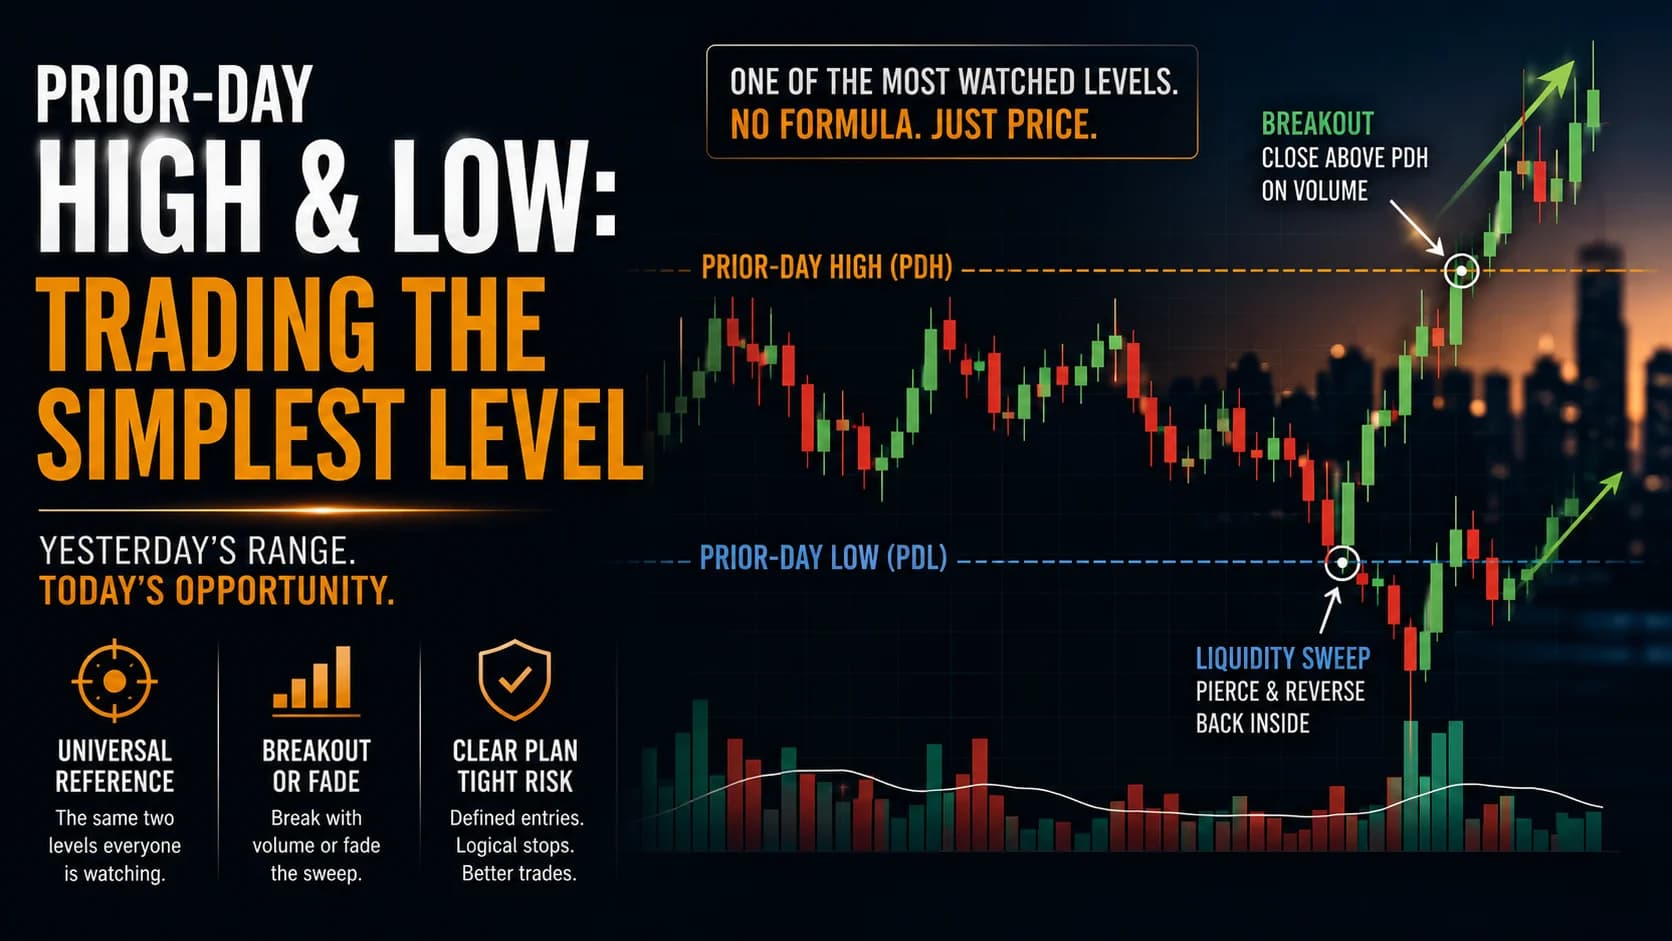
Trading the Breakout of Prior-Day High/Low Levels
PDH and PDL need no formula, just yesterday's range. This guide covers the breakout, the liquidity-sweep fade, and why stops cluster right at these levels.
Strategies
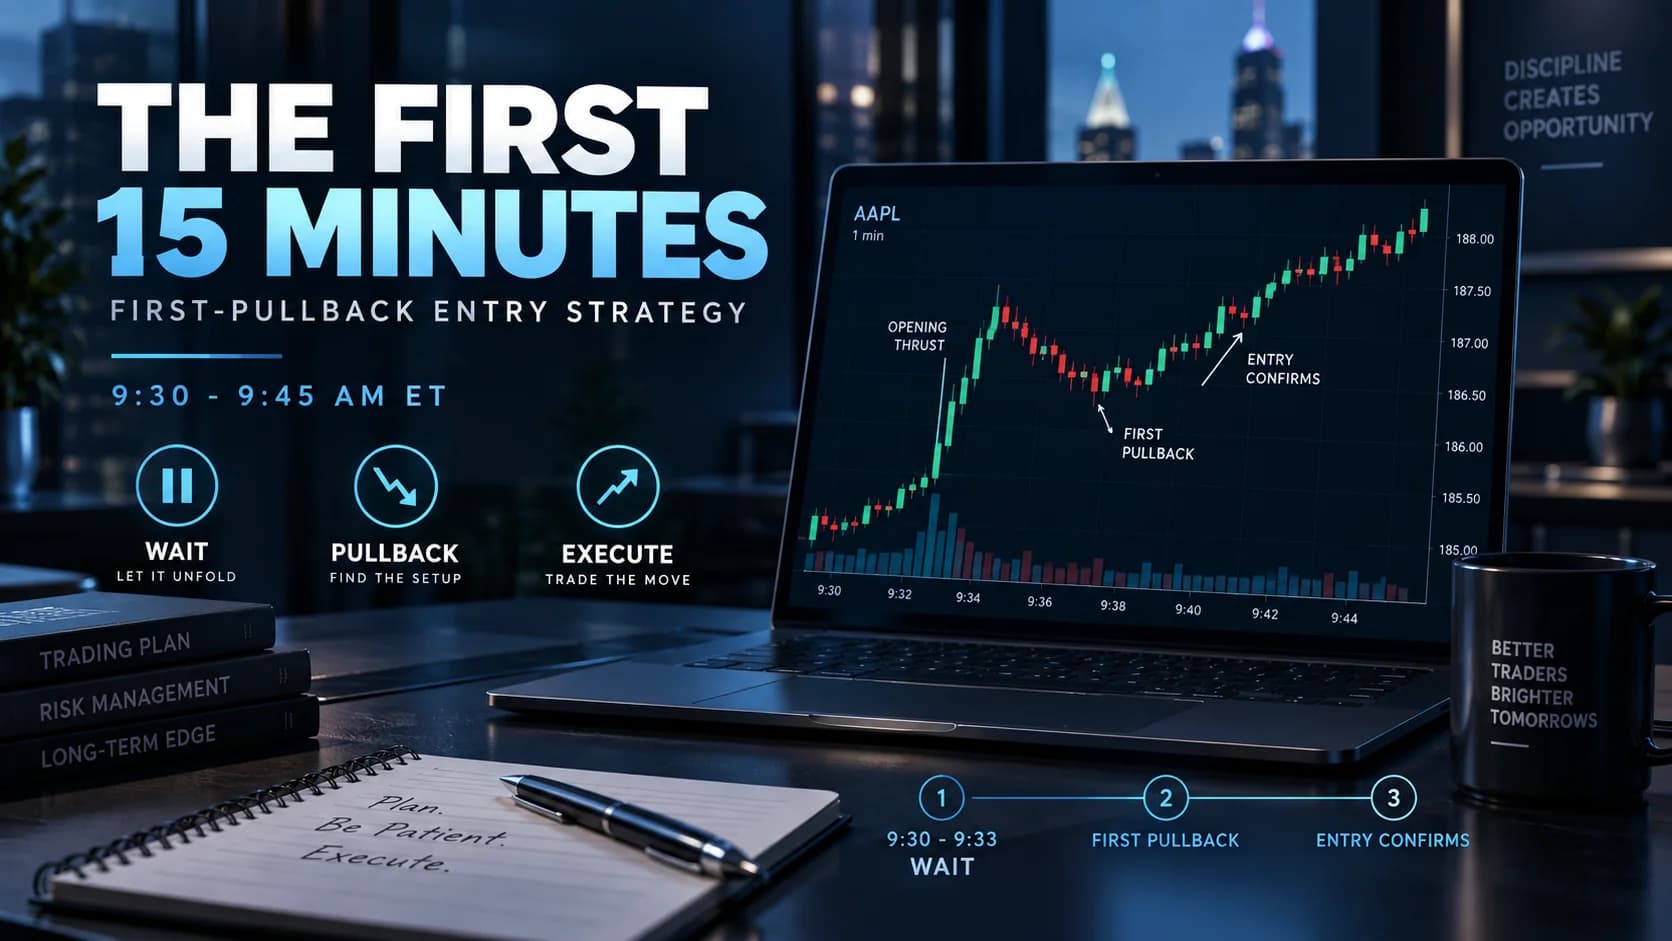
The Trader's Playbook: How to Day Trade the First 15 Minutes
The opening auction leaves an imbalance that takes a few minutes to resolve. This playbook covers what's structurally different about the first 15 minutes and the one pullback setup built around it.

Strategies
The Trader's Playbook: How to Day Trade the Market Open
Master DayTradingToolkit's "Golden Hour" framework for the first 60 minutes of trading, including the Opening Range Breakout setup, its failed-breakout mirror trade, and how to build a pre-market watchlist.

Strategies
The Trader's Playbook: How to Day Trade the Market Close (The Final Hour)
Learn DayTradingToolkit's Power Hour playbook: how to read the day's character, trade the Range Day breakout setup, and why this playbook steps aside before the closing cross.
Comments
No comments yet. Be the first to share your thoughts.