
The Breakout vs. Fakeout Strategy: Our 3-Point Checklist

In this article11 sections
A stock coils under resistance all morning, price finally pokes above the level, and the buy order fires on pure reflex. For a few seconds it looks like a genius trade. Then momentum stalls, the candle rolls over, and price slides back below the level before the position has even had time to breathe. That's a fakeout — and it's one of the most common, most avoidable ways a breakout trade goes wrong.
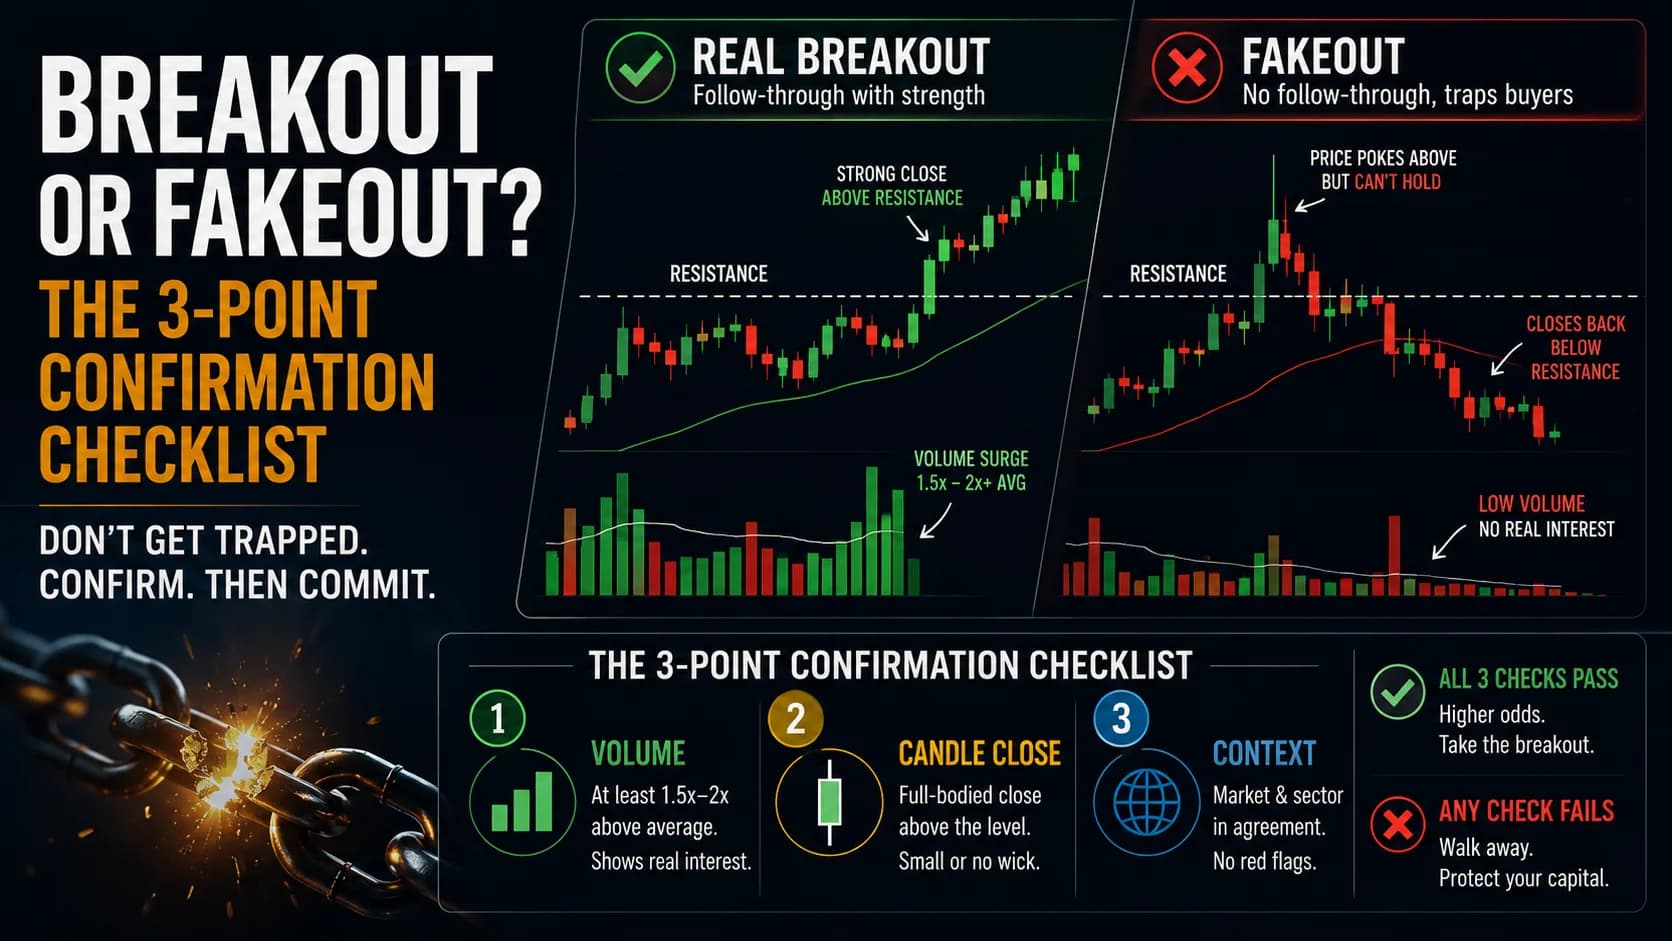
The gap between a real breakout and a fakeout isn't mysterious. It shows up in three specific, checkable places: volume, the candle's close, and the broader context around the move. A setup that passes all three isn't guaranteed to work, but a setup that fails even one of them is a setup worth skipping.
What is a breakout vs. fakeout strategy? A breakout is a genuine, sustained move past a support or resistance level, typically backed by strong volume and continued follow-through. A fakeout (or false breakout) is a move that briefly clears the same level before reversing hard, often trapping traders who entered on the initial break. This strategy uses a three-point checklist — volume, candle close, and context — to filter out the fakeouts before committing capital.
Why Fakeouts Happen in the First Place
A breakout only works if there's enough real buying (or selling) pressure to overwhelm whoever is defending the opposite side of that level. When that pressure is genuine, the level clears and price continues. When it isn't, the initial move consists of exactly the traders and stop-losses clustered right at that level — the breakout buyers jumping in, and the short-sellers getting stopped out — with no fresh participation behind it to sustain the move once those orders are filled.
That's the mechanical reason a fakeout can look identical to a real breakout in the first few seconds: the same visual event (price crossing a line) can be produced by two entirely different underlying conditions. The three-point checklist below exists specifically to tell those two conditions apart before risking capital on the assumption that it's the good one.
The Three-Point Confirmation Checklist: A Setup Specification
- Component
- Market Conditions Required
- Rule
- A clearly defined support or resistance level — horizontal, pattern-based, or a calculated level like a pivot — being tested with a genuine attempt to clear it, not simply drifting through on light activity
- Component
- Time of Day
- Rule
- 9:45 AM–3:30 PM ET — the opening 15 minutes are excluded, since early volatility can produce a break that looks confirmed but reflects opening-order imbalance rather than genuine follow-through
- Component
- Stock Selection Criteria
- Rule
- Liquid stocks or ETFs with average daily volume above 1 million shares; low-float, thinly traded names behave differently and need a separate, more specialized approach
- Component
- Entry Trigger
- Rule
- All three checks must pass: (1) volume on the breakout bar at least 1.5–2x the recent average, (2) a full-bodied candle that closes clearly beyond the level with a small wick, not a large rejection wick, (3) broader market and sector context that doesn't actively contradict the move
- Component
- Stop Loss
- Rule
- Placed at the low (for a long breakout) or high (for a short breakdown) of the breakout candle itself, or a fixed ATR buffer beyond the broken level
- Component
- Initial Profit Target
- Rule
- The measured move of the pattern or range that was broken, projected from the breakout point; scale out the remainder with a trailing stop
- Component
- Trade Management
- Rule
- A retest of the broken level shortly after the breakout is a normal, often healthy part of the move — provided the level holds as new support (or resistance) rather than being reclaimed by the old side
- Component
- Invalidation Criteria
- Rule
- A close back through the broken level within one to two bars of the breakout — treat this as a failed breakout, not a temporary pullback, and exit rather than average in
| Component | Rule |
|---|---|
| Market Conditions Required | A clearly defined support or resistance level — horizontal, pattern-based, or a calculated level like a pivot — being tested with a genuine attempt to clear it, not simply drifting through on light activity |
| Time of Day | 9:45 AM–3:30 PM ET — the opening 15 minutes are excluded, since early volatility can produce a break that looks confirmed but reflects opening-order imbalance rather than genuine follow-through |
| Stock Selection Criteria | Liquid stocks or ETFs with average daily volume above 1 million shares; low-float, thinly traded names behave differently and need a separate, more specialized approach |
| Entry Trigger | All three checks must pass: (1) volume on the breakout bar at least 1.5–2x the recent average, (2) a full-bodied candle that closes clearly beyond the level with a small wick, not a large rejection wick, (3) broader market and sector context that doesn't actively contradict the move |
| Stop Loss | Placed at the low (for a long breakout) or high (for a short breakdown) of the breakout candle itself, or a fixed ATR buffer beyond the broken level |
| Initial Profit Target | The measured move of the pattern or range that was broken, projected from the breakout point; scale out the remainder with a trailing stop |
| Trade Management | A retest of the broken level shortly after the breakout is a normal, often healthy part of the move — provided the level holds as new support (or resistance) rather than being reclaimed by the old side |
| Invalidation Criteria | A close back through the broken level within one to two bars of the breakout — treat this as a failed breakout, not a temporary pullback, and exit rather than average in |
Volume is the check that matters most, because it's the hardest one to fake. Price alone can be pushed a small distance by a handful of orders; a genuine surge in participation is a much harder thing to manufacture artificially. A breakout that fails the volume check should be treated skeptically even if the candle close and the broader context both look fine.
Checkpoint One: Volume as the Hardest Signal to Fake
A real breakout is typically driven by a real influx of orders, and that shows up as a volume bar that stands out clearly from the bars around it — often 1.5 to 2 times the recent average, sometimes considerably more when a genuine catalyst is involved. A breakout on volume that's merely average, or declining relative to the approach into the level, is a warning sign regardless of how clean the price action looks.
This check exists because algorithmic and high-frequency participation can occasionally create the appearance of a volume increase without the sustained follow-through a genuine breakout needs — a brief participation spike that reverses as quickly as it arrived. Confirming that volume stays elevated for more than a single bar, rather than spiking and immediately fading, adds a layer of confidence beyond the initial breakout bar alone.

Checkpoint Two: Why the Close Matters More Than the Poke
Price briefly trading above a resistance level during a candle's formation says very little on its own — what matters is where that candle actually closes. A full-bodied close well beyond the level, with little to no wick back toward it, shows that buyers (or sellers, for a breakdown) remained in control through the entire period the candle covers.
A candle that pokes above the level intrabar but closes back near or below it — leaving a long upper wick, the classic shooting-star or pin-bar shape — is a rejection, not a breakout. Acting on the intrabar poke, before the candle has actually closed, is one of the most common and most avoidable ways traders get caught in a fakeout. Waiting for the close costs a small amount of entry price; skipping that wait costs considerably more when the poke turns out to be exactly that.
Checkpoint Three: Confluence, or Whether the Story Holds Together
A breakout rarely happens in isolation from everything else going on in the market. A move that lines up with a supportive broader market backdrop, a strong or improving sector, or an identifiable catalyst carries more weight than the same price action occurring for no apparent reason while the broader tape or sector is moving the opposite way.
This check is inherently the softest of the three — it's a judgment call rather than a hard number — but it's still worth making explicitly rather than skipping. A breakout attempted directly against the grain of the broader market isn't impossible, but it's swimming upstream, and the odds shift meaningfully against it compared to a breakout with the broader context supporting the move.
A Walk-Through: One Setup That Passes, One That Doesn't
Picture a mid-cap industrial stock — call it ABC, trading around $46 — that's spent three sessions compressing just under $47.50 resistance. The broader market has been grinding higher over the same stretch, and the stock's sector has been showing relative strength.
On the fourth session, ABC clears $47.50 on a 5-minute candle with volume running 2.3x the recent average. The candle closes at $47.85 — a small wick, full body, decisively above the level. The broader tape is green, the sector is leading, and there's no contradiction in the context. All three checkpoints pass: this is the setup worth taking, with a stop below the breakout candle's low near $47.55 and a first target based on the measured move of the prior range.
Now picture a different stock — call it XYZ, trading around $22 — pushing through $23 resistance on a quiet, low-conviction session. Volume on the breakout bar comes in at only 0.9x the recent average. The 5-minute candle pokes to $23.20 before closing back at $22.85, leaving a long upper wick. The broader market, meanwhile, is red on the day. All three checkpoints fail here — weak volume, a rejection candle, and contradicting context — and the correct decision is to skip the trade entirely, regardless of how tempting the initial poke above $23 might have looked.
When a Failed Breakout Becomes Its Own Opportunity
A fakeout isn't only a trade to avoid — it can become a trade in its own right. Once a breakout clearly fails (a close back through the level after a false break), the trapped buyers who entered on the initial move are often forced to exit, adding selling pressure that can fuel a reversal in the opposite direction. Entering short once price closes back below the broken level, with a stop just above the fakeout's high, is a distinct setup built on the failure itself rather than the original breakout attempt.
This isn't the same trade as the three-point checklist above — it's a separate, contrarian setup that only applies after a breakout has already been confirmed as false, and it carries its own risk that the "failure" itself turns out to be temporary.
Where the Three-Point Checklist Breaks Down
The clearest failure mode is acting on any two of the three checkpoints while ignoring the third, particularly skipping the volume check because the price action alone looks compelling. Price can be pushed a short distance by a small number of orders; volume is the piece that confirms real participation is actually behind the move, and treating it as optional undermines the entire checklist.
It also breaks down around a level that's already been tested and rejected multiple times. Research on historical chart-pattern performance has found meaningful variation in breakout failure rates over time and across market conditions — one long-running empirical study tracking decades of breakout patterns found the share failing to sustain even a modest post-breakout move ranged from roughly 11% in some years to over 40% in others, depending heavily on the broader market environment. A level that has already failed to hold on previous attempts deserves extra scrutiny on the checklist, not less, since each additional failed test can mean the level is attracting more anticipatory selling (or buying) rather than becoming more likely to finally break.
And it fails when a trader treats "all three checkpoints passed" as a guarantee rather than a probability improvement. Even a textbook setup that clears volume, candle close, and context can still fail — the checklist raises the odds of a genuine breakout, it doesn't eliminate the possibility of a loss.
Tools for Spotting the Volume Signature in Real Time
Manually watching volume develop on every stock approaching a key level isn't practical across a full watchlist — this is exactly the kind of real-time filtering a scanner is built for.
A platform like Trade Ideas can alert on relative volume spikes as they happen, surfacing the handful of names actually showing the volume signature this checklist depends on, rather than requiring a manual chart-by-chart check across a broader list of candidates approaching resistance.
Where This Fits a Complete Trading Plan
The three-point checklist is meant to be applied to every breakout setup in this hub, not treated as a standalone strategy on its own — it's the gate a setup has to pass before entry, whether the underlying pattern is a simple horizontal level, a chart pattern, or a calculated level like a pivot. Reviewing support and resistance basics and reading candlestick charts is worth doing first for anyone who needs those fundamentals refreshed before applying the tighter volume and confluence rules here.
The discipline this checklist demands — waiting for the close, resisting the urge to buy the poke — is as much a psychological challenge as a technical one; managing impulsive trading decisions is worth reviewing alongside this guide. For the rest of the breakout and breakdown setups this checklist applies to, the Strategies Hub organizes the full library by market condition.
Frequently Asked Questions About Breakouts and Fakeouts
How can you tell if a breakout is likely real before entering?
No single checkpoint is sufficient on its own, since price, volume, and context can each be misleading in isolation. Requiring all three to align before entering filters out a meaningful share of the setups that would otherwise turn into fakeouts.
Key Takeaway: Treat all three checkpoints as required, not optional — a setup passing two out of three still carries meaningfully more risk than one passing all three.
What's the actual difference between a breakout and a fakeout?
The visual event — price crossing a line on a chart — looks identical in the first few seconds for both. The difference only becomes clear once volume, the candle's close, and subsequent follow-through are checked, which is exactly why acting before that confirmation is the core risk this checklist addresses.
Key Takeaway: The distinguishing factor is follow-through, confirmed by volume and candle close, not the initial price movement itself.
How much higher does volume need to be to confirm a breakout?
Below that threshold, a breakout should be treated with more skepticism, since it suggests the move lacks the kind of participation surge that typically sustains a genuine break. The exact multiple matters less than confirming the volume bar clearly stands out from the bars around it rather than blending in.
Key Takeaway: Look for a volume bar that visibly stands out on the chart, not simply one that's marginally above average.
Why does waiting for the candle close matter more than reacting to the price crossing the level?
Entering the instant price pokes above a level, before the candle closes, means committing to the trade before the most basic confirmation is even available. A long wick and a close back near the level is a common rejection pattern that only becomes visible once the candle is complete.
Key Takeaway: Treat the candle's close, not its intrabar high or low, as the actual signal worth acting on.
How often do breakouts actually fail?
This range reflects real historical variation rather than a single fixed number, and failure rates tend to rise during choppier or more uncertain market conditions and fall during strong, trending markets. Treating any single failure-rate figure as a universal constant misrepresents how much the actual odds shift with market conditions.
Key Takeaway: Expect breakout failure rates to shift meaningfully with broader market conditions rather than expecting a single fixed number to apply at all times.
How should a failed breakout be traded, if at all?
This is a separate trade from the original breakout attempt, built on the idea that traders trapped by the failed breakout are often forced to exit, adding pressure in the reversal direction. It carries its own risk that the apparent failure reverses again, so it isn't a guaranteed reversal signal any more than the original breakout was a guaranteed continuation.
Key Takeaway: Treat a failed breakout as its own distinct setup with its own entry and stop, not as an automatic reversal trade.
Why do repeated failed tests of the same level matter for this checklist?
Treating a fourth or fifth attempt at the same level as automatically more likely to succeed because "it's due" ignores that repeated tests can also exhaust the level from the other direction. The three-point checklist should be applied with the same rigor — or more — on a level that's already failed before.
Key Takeaway: Don't assume a level becomes more likely to break simply because it's been tested several times already.
Why does broader market context matter for an individual stock's breakout?
This checkpoint is the softest of the three since it involves judgment rather than a hard number, but ignoring it entirely means trading a setup in isolation from the conditions actually surrounding it. A breakout with the broader tape and sector both supportive carries a real, if hard-to-quantify, edge over one fighting against both.
Key Takeaway: Check the broader market and sector direction before entering, even though this checkpoint is inherently more subjective than the volume and candle-close checks.
What's the most common mistake traders make when trying to catch breakouts?
This mistake is driven primarily by the fear of missing a fast-moving opportunity, but acting before any of the three checkpoints can actually be evaluated means trading on hope rather than confirmation. The small amount of entry price given up by waiting for confirmation is a reasonable trade-off against the much larger cost of a fakeout.
Key Takeaway: The single highest-value habit for avoiding fakeouts is simply waiting for the candle to close before acting.
Should every single checkpoint fail before skipping a breakout trade, or is one enough?
A breakout with a strong candle close and supportive context but weak volume is still missing the hardest-to-fake confirmation, and that gap alone should raise real doubt about whether the move has genuine participation behind it, regardless of how clean the rest of the setup appears.
Key Takeaway: Treat any single failed checkpoint as a real reason for caution, not something the other two can simply outvote.
Disclaimer
Article Sources
- Bulkowski's Failure Rate Study — ThePatternSite.com - a multi-decade empirical study tracking the share of chart patterns failing to sustain a post-breakout move, referenced in this guide's failure-rate discussion.
- What Is a False Breakout and How Do You Avoid It? — IG International - covers the bull trap and bear trap concepts and practical steps for identifying a failed break.
- Bull Trap in Trading: What It Is and How to Avoid It — Equiti - discusses the volume and candle-close confirmation framework referenced throughout this guide.
Was this helpful?
Be the first to weigh in

Written by
Kazi Mezanur RahmanFounder, independent researcher, and editor of DayTradingToolkit. A one-person publication focused on risk-first trading education and documented tool research. He trades his own capital as a retail trader and combines personal market experience with systematic primary-source research.
Keep Reading
Strategies
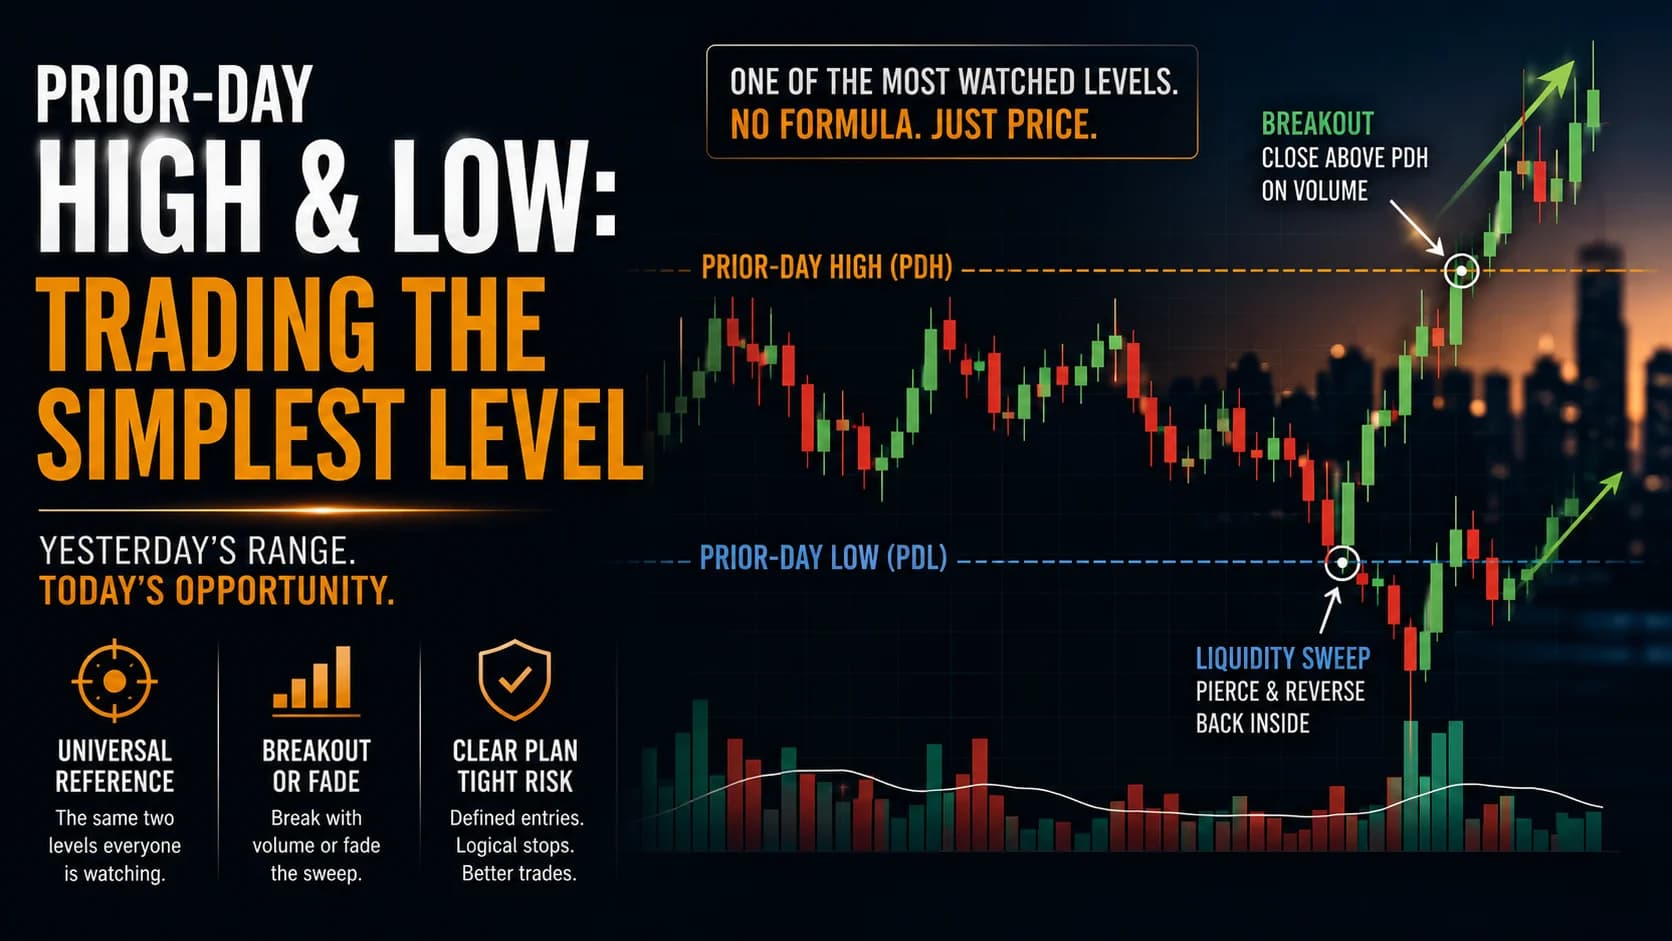
Trading the Breakout of Prior-Day High/Low Levels
PDH and PDL need no formula, just yesterday's range. This guide covers the breakout, the liquidity-sweep fade, and why stops cluster right at these levels.
Strategies
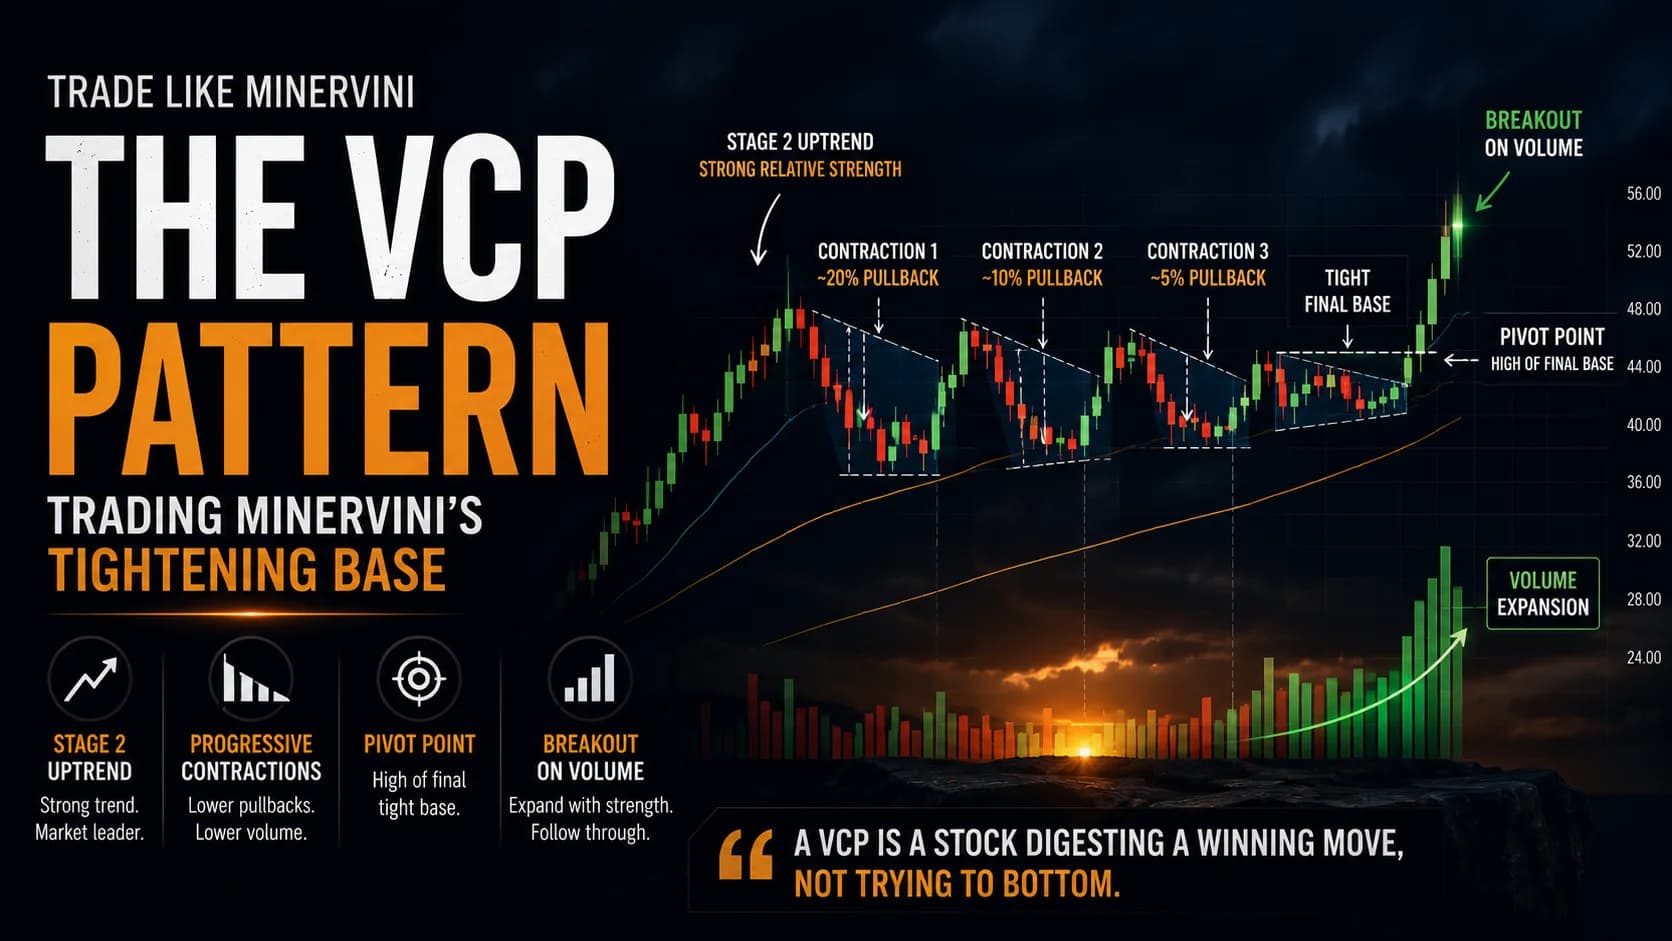
Trading Breakouts From Consolidation: The Volatility Contraction Pattern
The VCP isn't just a volatility squeeze. This guide covers the staged contraction sequence, the pivot point, and why context matters as much as the pattern.
Strategies
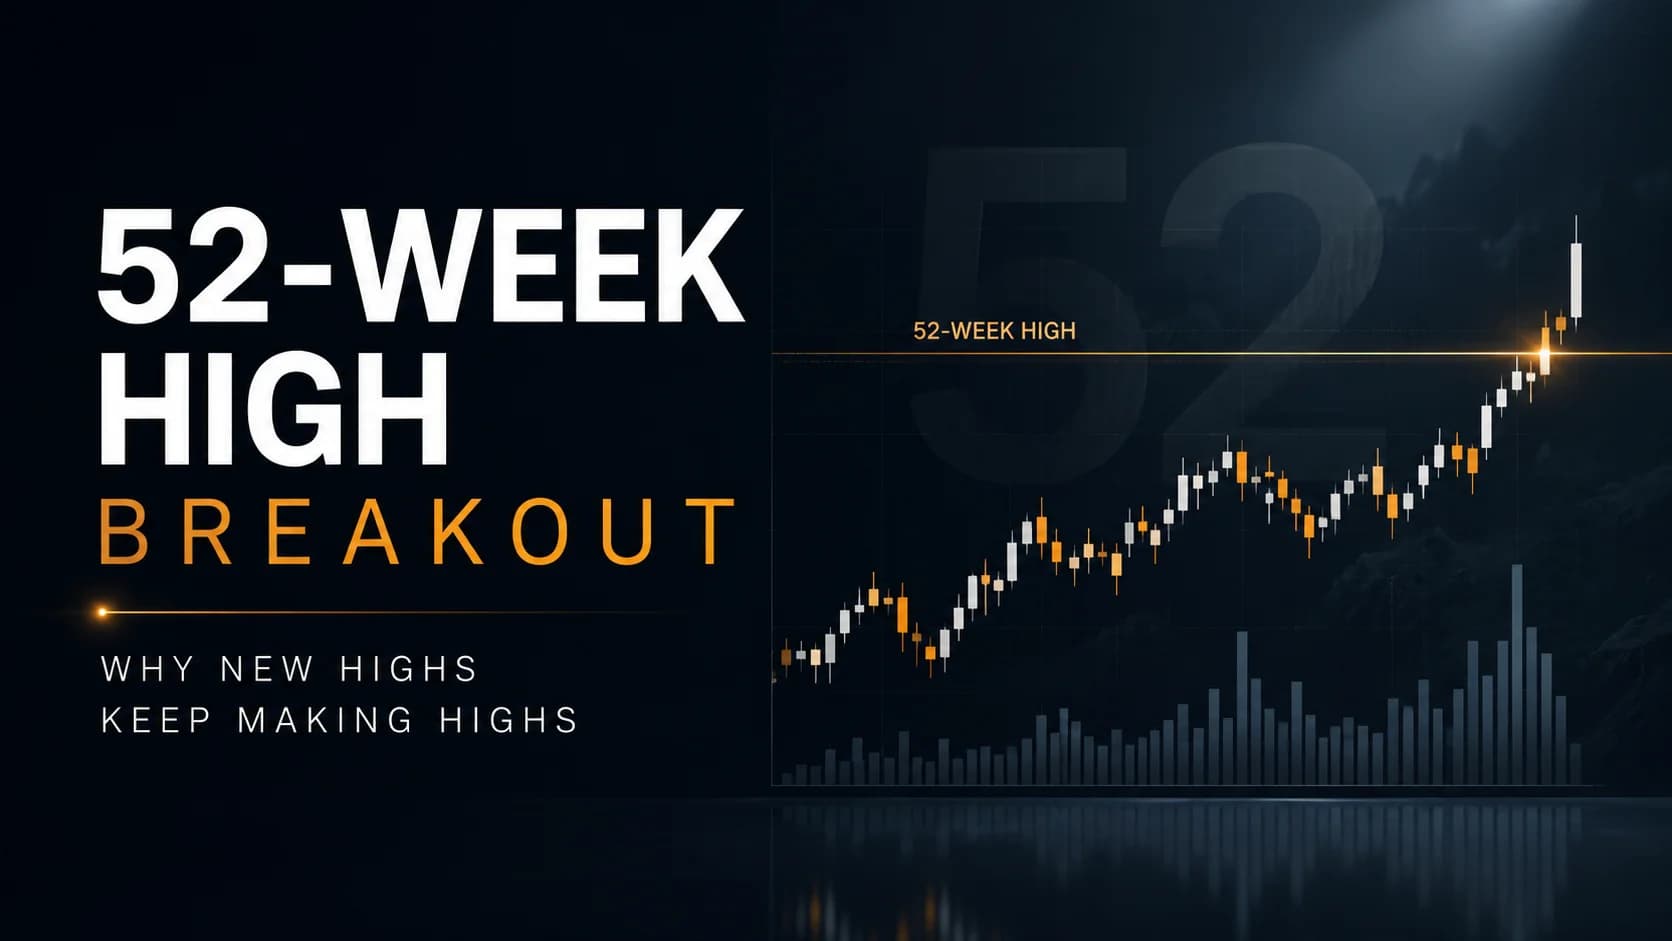
The 52-Week High Breakout Strategy: Trading Stocks at New Highs
Investors anchor on the 52-week high, and that bias is exactly why breaking it carries real weight. This guide covers the research and trading the breakout.
Strategies
Drawing the Lines: Using Trendlines & Channels Like a Pro
A mechanical trendline trading strategy: how to draw a valid line, the 3-touch rule, bounce entries, breakout retests, and price channels — with exact entry, stop, and target rules.
Comments
No comments yet. Be the first to share your thoughts.