
Calling the Turn: Spotting Market Reversals Using Patterns & Divergence

In this article12 sections
The convergence framework covered elsewhere in this hub explains how many pieces of evidence should align before trading a reversal. This guide covers the specific shapes that evidence actually takes — the classic chart patterns, the divergence mechanics behind them, and the exact entry, stop, and target rules for each one.
Every pattern in this guide tells a version of the same story: an established trend tries to continue, fails, and the failure itself becomes visible on the chart in a repeatable shape. Learning to read that shape, and knowing exactly where to enter, where to place the stop, and where the trade is invalidated, is what separates a plausible-looking pattern from an actual trade.
What are reversal chart patterns? Reversal chart patterns are recurring price shapes — Head and Shoulders, Double Tops and Bottoms, wedges, and others — that form when an established trend loses the momentum needed to continue, and a new trend begins in the opposite direction. Each pattern has a specific point of confirmation, and trading before that confirmation point is the single most common mistake made with all of them.
The Head and Shoulders: Anatomy of the Classic Topping Pattern
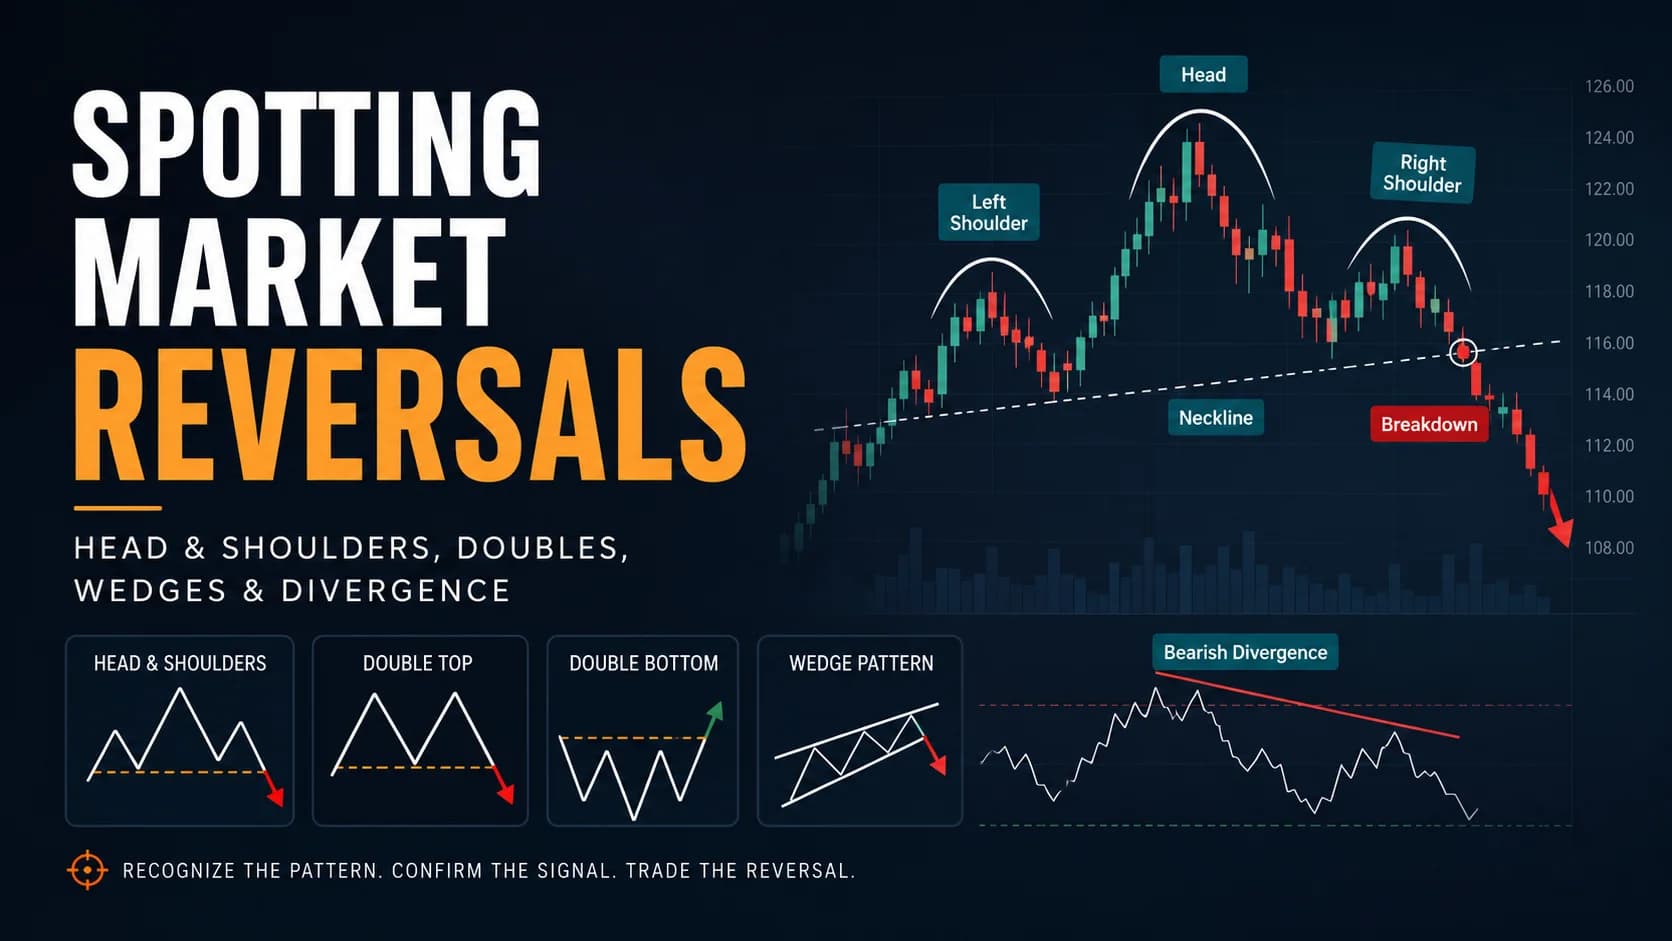
The Head and Shoulders is widely regarded as one of the more reliable reversal patterns in technical analysis, a reputation dating back to Edwards and Magee's foundational 1948 textbook. It forms in three stages: the left shoulder (a rally to a peak, then a pullback), the head (a rally to a new, higher peak, then a pullback), and the right shoulder (a rally that fails to reach the head's height before pulling back again). Connecting the two pullback lows creates the neckline.
The pattern's logic is straightforward: the right shoulder's failure to reach a new high shows buyers losing the ability to push the stock further, even after two prior successful attempts. The pattern isn't complete, and the bearish signal doesn't trigger, until price actually closes below the neckline. Volume ideally runs highest during the left shoulder and head, tapers off during the weaker right-shoulder rally, and picks back up on the neckline break itself.
The inverse — a Head and Shoulders Bottom — is the same structure flipped: a low, a lower low (the head), then a higher low (the right shoulder) that fails to reach the head's depth, with the neckline connecting the two rally peaks. A close above the neckline triggers the bullish signal.
Double and Triple Tops and Bottoms: The "M" and "W" Shapes
A Double Top forms when price rallies to a high, pulls back, rallies again, and fails to clear the prior high before turning down — the "M" shape. The pattern confirms when price breaks below the low of the pullback between the two peaks. A Double Bottom is the mirror image: two lows at roughly the same level, forming a "W," confirming when price breaks above the high of the peak between them.
Triple tops and bottoms follow the same logic with a third test of the level before the eventual break. Because the level has now held multiple times before finally giving way, a triple top or bottom is often considered a somewhat stronger signal than a double — though it's also a less common pattern to find in practice.
Wedge Patterns: Converging Trendlines Before a Turn
A wedge forms when price swings compress between two converging, sloped trendlines. A rising wedge appears during an uptrend — both boundary lines slope upward, but the lower support line rises more steeply than the upper resistance line, squeezing the range progressively narrower even as price keeps making higher highs and higher lows. A break below the lower trendline signals a bearish reversal.
A falling wedge is the mirror image, appearing during a downtrend, with the upper resistance line falling more steeply than the lower support line. A break above the upper trendline signals a bullish reversal. Both wedge types are frequently accompanied by the same divergence signal covered later in this guide, since the narrowing price swings often coincide with genuinely weakening momentum.

The Quasimodo Pattern: A Structural Cousin of the Head and Shoulders
Worth knowing, with an honest caveat about where it comes from: the Quasimodo pattern (sometimes called an "Over and Under" pattern) is a reversal structure used within Inner Circle Trader (ICT) and Smart Money Concepts (SMC) trading education, rather than a term found in traditional technical analysis textbooks. It shares the same basic three-extreme structure as a Head and Shoulders, but with a specific difference in how the entry is defined.
In a bearish Quasimodo, price makes a new high beyond the established trend's prior highs — in ICT terminology, this move is often interpreted as a liquidity grab that traps late buyers — then reverses and breaks below the prior swing low, confirming the structural shift. The entry comes on the retracement back up to the level of the original left-shoulder-equivalent high (called the Quasimodo Level), with the stop placed beyond the extreme of the head. The bullish version mirrors this in a downtrend.
Because this terminology comes from a specific trading tradition rather than the broader technical analysis literature this guide otherwise draws on, it's worth treating claims about its reliability with the same caution applied to any single practitioner framework — the underlying structural logic (a failed continuation attempt followed by a break of prior structure) is a reasonable variation on the Head and Shoulders concept, but it doesn't carry the same decades of documented, independent chart-pattern research behind it.
Divergence: The Leading Signal Behind Every One of These Patterns
Every pattern described above tends to show the same underlying momentum signature before it completes: price pushing to a new extreme while an oscillator like RSI or MACD fails to confirm with its own new extreme. This is divergence, and it's frequently visible at the right shoulder of a Head and Shoulders, the second peak of a Double Top, or the final swing of a wedge — the underlying momentum weakening even as price makes one more attempt at a new high or low.
The critical caveat, worth repeating because it's so often skipped: divergence can persist for a long stretch during a genuinely strong trend without ever resolving into an actual reversal. It functions best as an early flag that raises attention to a specific chart pattern developing, not as a standalone signal to act on by itself.
Candlestick Confirmation at the Turning Point
The larger patterns above are frequently punctuated by specific candlestick signals right at the extreme — a doji showing indecision, a hammer or shooting star showing a sharp rejection, or an engulfing candle showing a decisive change of control between buyers and sellers. A bearish engulfing candle at the second peak of a Double Top, or a hammer at the right shoulder of a Head and Shoulders Bottom, adds a shorter-term, more immediate piece of confirmation to the larger pattern's story.
These candlestick signals carry more weight appearing at the extreme of a larger, already-forming pattern than they do appearing in isolation elsewhere on the chart — a useful confirming detail, though not typically sufficient on its own without the larger pattern's own structure also being present.
The Confirmed Reversal Pattern Entry: A Setup Specification
- Component
- Market Conditions Required
- Rule
- An established prior trend, with one of the patterns above (Head and Shoulders, Double Top/Bottom, wedge) actively forming
- Component
- Time of Day
- Rule
- 9:45 AM–3:30 PM ET for the entry trigger itself, consistent with the general breakout confirmation framework
- Component
- Entry Trigger (Aggressive)
- Rule
- A decisive candle close beyond the pattern's confirmation point — the neckline, the trough/peak between a double's two extremes, or the wedge's trendline
- Component
- Entry Trigger (Conservative)
- Rule
- A pullback that retests the broken confirmation level from the other side, with a rejection candle confirming the level now holds in its new role
- Component
- Stop Loss
- Rule
- Beyond the pattern's own structural extreme — above the right shoulder or double top peaks for a short, below the right shoulder or double bottom troughs for a long
- Component
- Initial Profit Target
- Rule
- The pattern's height (measured from its most extreme point to the confirmation level) projected from the breakout point — the standard measured-move approach used across chart-pattern trading
- Component
- Trade Management
- Rule
- Confluence with divergence and a supporting candlestick signal at the pattern's extreme adds conviction; treat a pattern breaking with none of these present as a lower-confidence version of the same setup
- Component
- Invalidation Criteria
- Rule
- Price closes back on the wrong side of the confirmation level shortly after triggering — treat this as a failed pattern, not a deeper opportunity, unless it goes on to qualify as a busted pattern under the framework covered elsewhere in this hub
| Component | Rule |
|---|---|
| Market Conditions Required | An established prior trend, with one of the patterns above (Head and Shoulders, Double Top/Bottom, wedge) actively forming |
| Time of Day | 9:45 AM–3:30 PM ET for the entry trigger itself, consistent with the general breakout confirmation framework |
| Entry Trigger (Aggressive) | A decisive candle close beyond the pattern's confirmation point — the neckline, the trough/peak between a double's two extremes, or the wedge's trendline |
| Entry Trigger (Conservative) | A pullback that retests the broken confirmation level from the other side, with a rejection candle confirming the level now holds in its new role |
| Stop Loss | Beyond the pattern's own structural extreme — above the right shoulder or double top peaks for a short, below the right shoulder or double bottom troughs for a long |
| Initial Profit Target | The pattern's height (measured from its most extreme point to the confirmation level) projected from the breakout point — the standard measured-move approach used across chart-pattern trading |
| Trade Management | Confluence with divergence and a supporting candlestick signal at the pattern's extreme adds conviction; treat a pattern breaking with none of these present as a lower-confidence version of the same setup |
| Invalidation Criteria | Price closes back on the wrong side of the confirmation level shortly after triggering — treat this as a failed pattern, not a deeper opportunity, unless it goes on to qualify as a busted pattern under the framework covered elsewhere in this hub |
The choice between the aggressive and conservative entry styles is the same tradeoff covered in the breakout retest guide elsewhere in this hub: the retest offers a tighter stop at the cost of potentially missing a pattern that never comes back to retest its own confirmation level.
A Walk-Through: Trading a Confirmed Head and Shoulders
Picture a large-cap stock — call it ABC — that rallies from $80 to $95 (left shoulder), pulls back to $88, rallies again to $99 (the head), pulls back to $87, then rallies a third time but only reaches $93 before turning down again (the right shoulder). The neckline, connecting the two pullback lows near $87-88, sits at roughly $87.50.
Through the right shoulder's weaker rally, volume runs noticeably lighter than it did during the head's advance — the volume pillar supporting the pattern. RSI on the right shoulder also prints a lower reading than it did at the head, despite the head having reached a higher price — textbook bearish divergence.
Price closes at $86.80, below the neckline, on volume picking back up. That's the aggressive entry trigger. The stop goes above the right shoulder's high, near $93.50. The pattern's height — roughly $11.50, from the head at $99 to the neckline at $87.50 — projects downward from the breakout point, targeting around $75.
A more conservative version of the same trade waits for price to bounce back up toward $87.50 after the initial break, confirms the level now rejects as resistance, and enters there instead — a tighter stop, closer to $89, at the cost of a slightly worse entry price if the bounce doesn't materialize.
Where These Patterns Fail
The most common failure, by a wide margin, is entering before the confirmation point actually breaks — shorting what looks like a developing right shoulder before the neckline has cracked, or buying a "probable" double bottom before the intervening peak has actually been cleared. A pattern that hasn't confirmed is a possibility, not a trade.
They also fail when traded against a strong higher-timeframe trend. A reversal pattern forming on a 5-minute chart during a powerful daily-chart uptrend is fighting a much larger force than the intraday pattern alone can usually overcome — checking the broader trend context before committing to a reversal trade matters as much as the pattern's own construction.
And, as covered in more depth elsewhere in this hub, any of these patterns can still fail even after a clean confirmation — reversing back through their own confirmation point and going on to bust in the opposite direction entirely. No pattern, however textbook its construction, eliminates that risk.
Tools for Spotting Confirmed Patterns
Manually scanning for developing Head and Shoulders, double, and wedge patterns across a broad watchlist isn't realistic without charting tools built for the job.
A platform like TrendSpider offers automated pattern recognition that can flag developing reversal patterns across multiple timeframes, while a scanner like Trade Ideas can screen for supporting conditions — stocks near a prior high with weakening RSI, for instance — narrowing a broad list down to genuine candidates worth a manual pattern review.
Where This Fits a Complete Trading Plan
These patterns are the specific mechanics behind the broader convergence framework covered elsewhere in this hub — that guide covers how many independent pieces of evidence should align before trading any of the setups described here. For the risk management this kind of counter-trend trading demands, reviewing stop-loss orders and position sizing is worth doing before trading any pattern in this guide at full size.
For the rest of the reversal-specific setups this guide complements, the Strategies Hub organizes the full library by market condition.
Frequently Asked Questions About Reversal Chart Patterns
What makes the Head and Shoulders one of the more trusted reversal patterns?
The pattern's reliability comes from requiring multiple confirming stages rather than a single failed test, and the neckline break provides an unambiguous, specific confirmation point rather than a vague area.
Key Takeaway: The Head and Shoulders' multi-stage structure, culminating in a specific neckline break, is what gives it a stronger reputation than simpler single-test patterns.
How is the profit target calculated for these patterns?
This measured-move approach is consistent across Head and Shoulders, Double Top/Bottom, and wedge patterns, giving a repeatable method for setting an initial target grounded in the pattern's own scale rather than an arbitrary number.
Key Takeaway: Use the pattern's own height, measured from its extreme to its confirmation level, as the basis for the profit target.
Why is a Triple Top or Bottom considered a stronger signal than a Double?
This is a similar logic to touch-count validation covered elsewhere in this hub, though with the same caveat that applies there: more tests can also mean a level is being progressively exhausted, so the additional confirmation shouldn't be treated as an automatic guarantee.
Key Takeaway: Weigh a triple pattern's extra confirmation against the reality that it's rarer and that repeated tests can also signal exhaustion rather than pure strength.
What's the difference between a rising wedge and a falling wedge?
In both cases, the two boundary lines converge — the wedge's shape reflects narrowing price swings even as the trend nominally continues, which is often accompanied by the same divergence signal covered elsewhere in this guide.
Key Takeaway: Match the wedge type to the trend it appears within — rising wedges in uptrends signal bearish reversals; falling wedges in downtrends signal bullish reversals.
Is the Quasimodo pattern the same thing as a Head and Shoulders?
Because the Quasimodo pattern comes from a specific, more recent trading tradition rather than the decades of independent chart-pattern research behind the Head and Shoulders, its reliability claims deserve more caution than the older, more thoroughly documented pattern.
Key Takeaway: Treat the Quasimodo pattern as a structural variation on the Head and Shoulders from a specific trading tradition, not as an independently, academically validated pattern in its own right.
Does divergence appear on every reversal pattern in this guide?
A pattern lacking clear divergence isn't automatically invalid, but its absence is one less piece of supporting evidence, consistent with the broader convergence approach covered elsewhere in this hub.
Key Takeaway: Expect divergence often, but don't discard an otherwise well-formed pattern purely because divergence isn't clearly present.
Should the aggressive entry or the retest entry be used for these patterns?
This is the same tradeoff that applies to ordinary breakout retests, and the choice generally comes down to how much a trader values a tighter, more precisely defined risk versus guaranteed participation in every valid setup.
Key Takeaway: Choose the entry style based on whether a tighter stop or guaranteed participation matters more for a given setup.
Why does the broader trend matter when trading one of these reversal patterns?
An intraday reversal pattern developing during a powerful, established daily uptrend is a meaningfully weaker setup than the same pattern developing without that larger trend working against it. Checking the higher-timeframe context is a standard part of evaluating any of these patterns.
Key Takeaway: Confirm the higher-timeframe trend isn't strongly working against a reversal pattern before trading it.
Can a confirmed reversal pattern still fail after it breaks?
No pattern's confirmation, however clean, eliminates this risk entirely. The stop-loss placement described in the setup specification exists specifically to limit the damage when this happens.
Key Takeaway: Respect the stop-loss on every one of these patterns, since even a clean confirmation can still fail afterward.
How does candlestick confirmation add to these larger patterns?
These candlestick signals carry more weight in this specific context — at the extreme of an already-forming larger pattern — than they do appearing in isolation elsewhere on a chart with no larger structure behind them.
Key Takeaway: Look for candlestick confirmation specifically at a larger pattern's extreme, not as a standalone signal on its own.
Disclaimer
Article Sources
- Edwards, R. D., & Magee, J. (1948). Technical Analysis of Stock Trends. — the foundational technical analysis textbook establishing the Head and Shoulders pattern and its reputation for reliability.
- Bulkowski's Encyclopedia of Chart Patterns — ThePatternSite.com - long-running empirical research on the performance of Head and Shoulders and related reversal patterns.
- CME Group Education: Technical Patterns — Reversals - covers reversal pattern identification and confirmation signals.
- Investopedia: Head and Shoulders Pattern - a practical overview of the pattern's anatomy and trading applications.
Was this helpful?
Be the first to weigh in

Written by
Kazi Mezanur RahmanFounder, independent researcher, and editor of DayTradingToolkit. A one-person publication focused on risk-first trading education and documented tool research. He trades his own capital as a retail trader and combines personal market experience with systematic primary-source research.
Keep Reading
Strategies
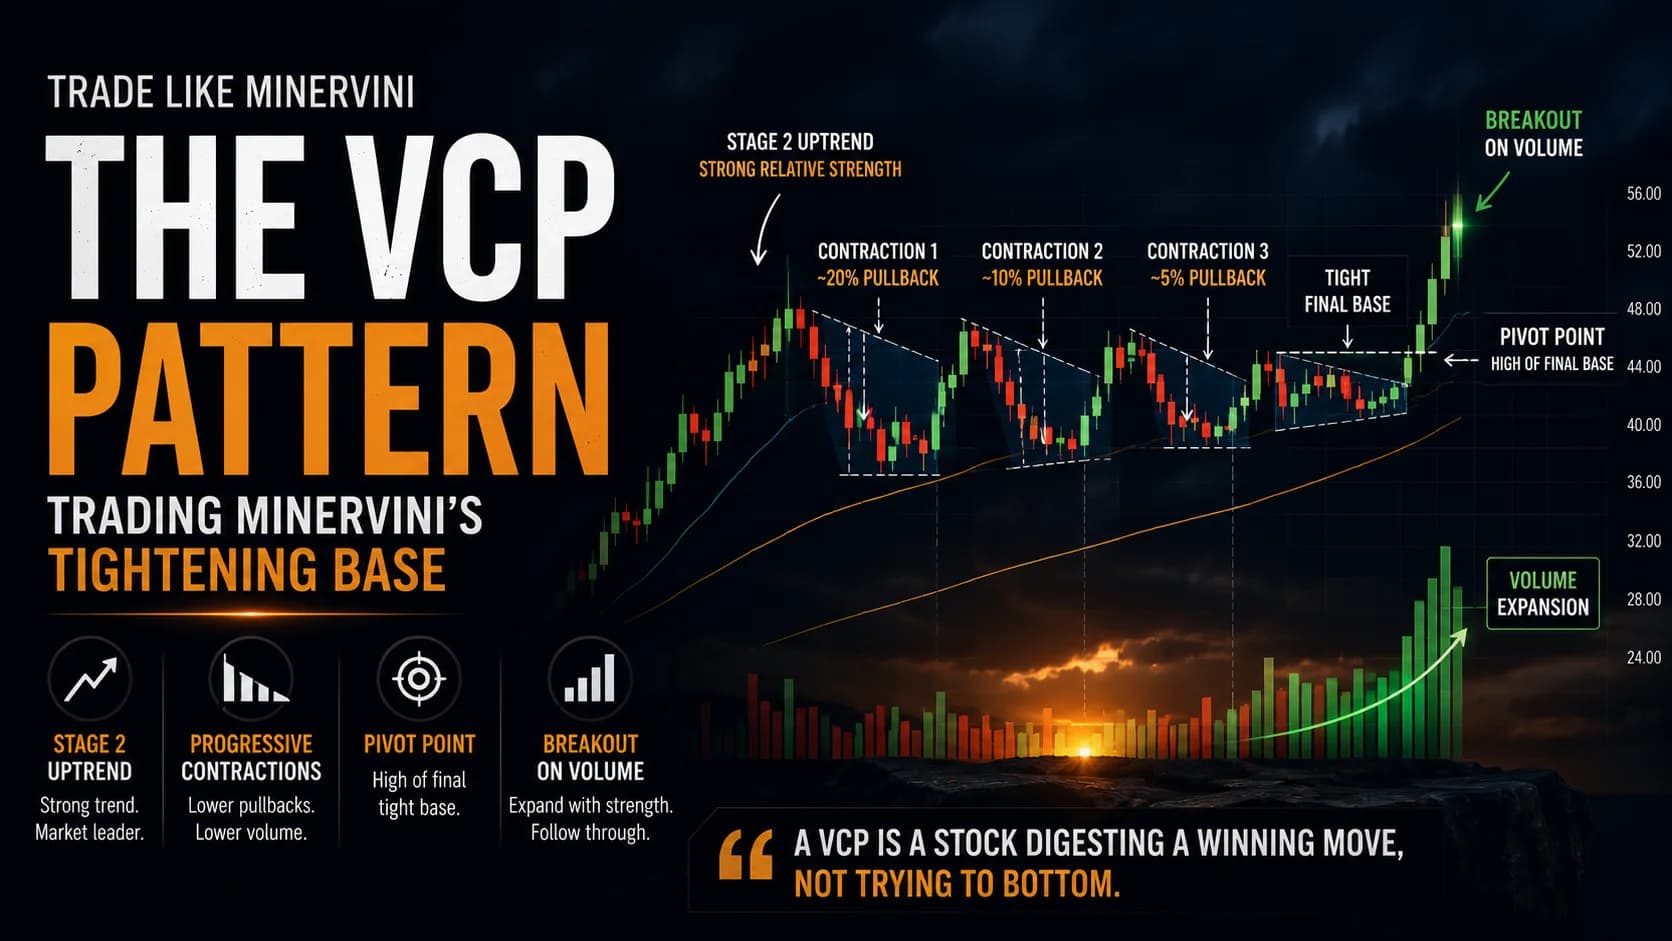
Trading Breakouts From Consolidation: The Volatility Contraction Pattern
The VCP isn't just a volatility squeeze. This guide covers the staged contraction sequence, the pivot point, and why context matters as much as the pattern.
Strategies
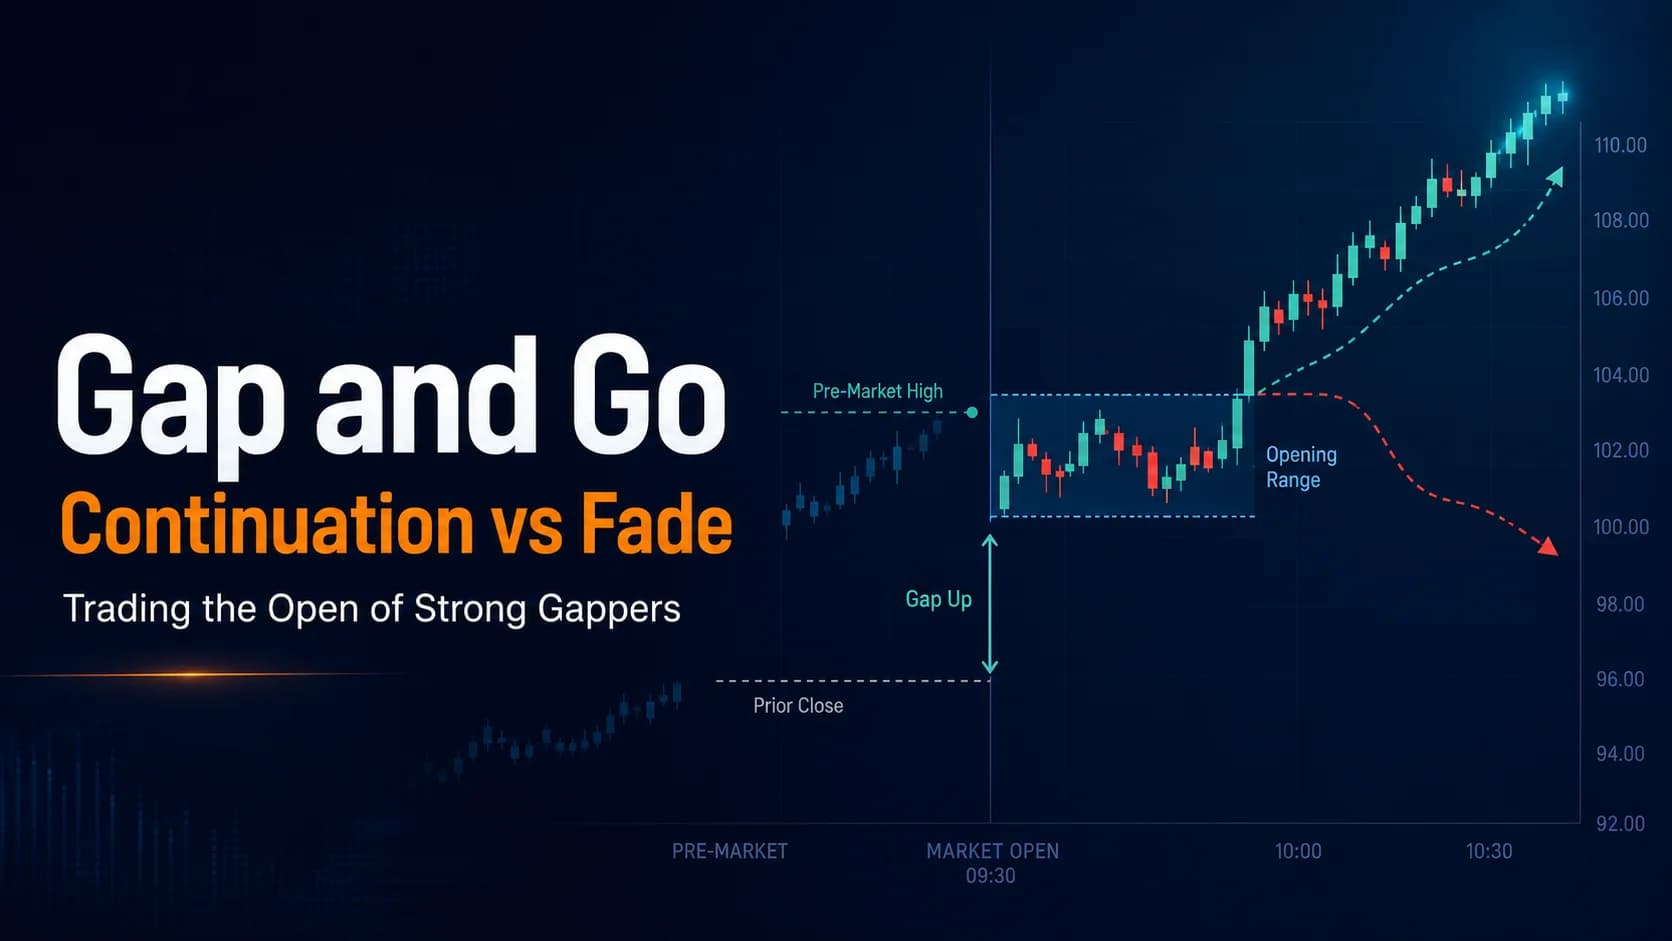
The Gap and Go Strategy: Trading the Open of Strong Gappers
Research shows most gaps reverse during the day, not continue. This guide covers how to spot the ones that genuinely keep going, and how to trade them.
Strategies
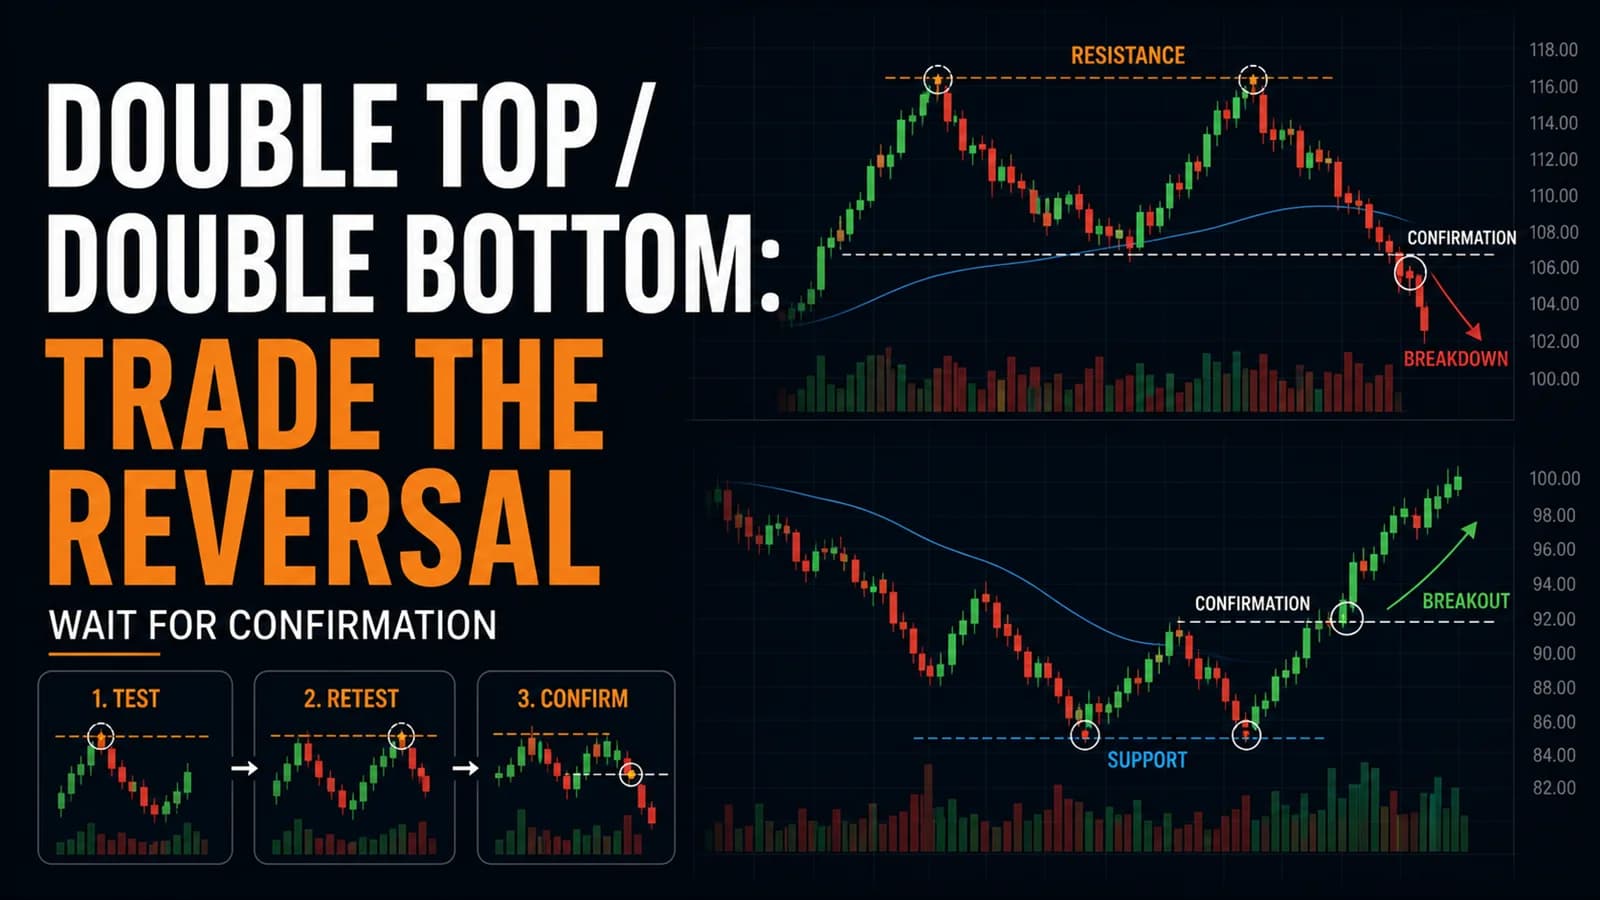
The Double Top / Double Bottom Trading Strategy
Most double tops never confirm. Here's the confirmation line that separates a real reversal from two random peaks, plus the honest failure rate behind each.
Strategies
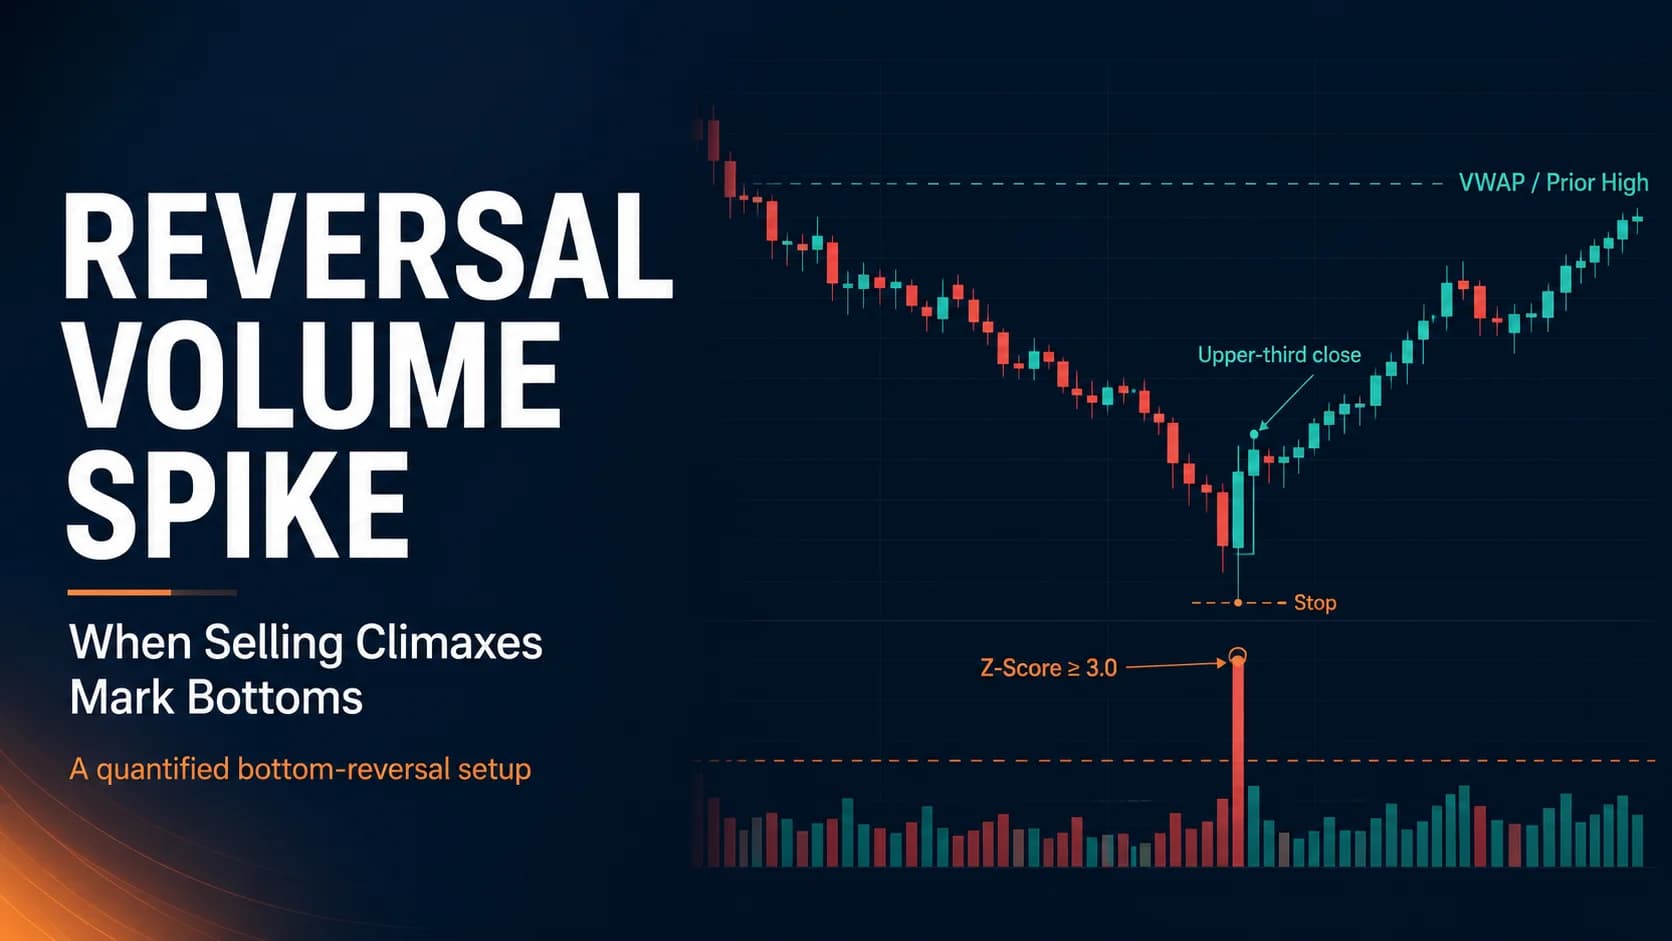
The Reversal Volume Spike Strategy: When Selling Climaxes Mark Bottoms
Not every volume spike marks a real bottom, and not every bottom needs full capitulation. This guide covers the statistical setup for trading the difference.
Comments
No comments yet. Be the first to share your thoughts.