
The Reversal Trading Playbook: How to Call a Market Turn

In this article9 sections
Shorting a stock that's gone parabolic feels like standing in front of a moving train. Buying a stock that's fallen for six straight months feels like reaching for a falling knife. Both instincts are usually correct — most attempts to call a top or a bottom on a single signal end badly, which is exactly why professional reversal trading isn't built around finding one perfect indicator.
There is no single tool that reliably screams "the top is in" or "this is the bottom." What actually works is treating a potential reversal the way a case gets built with evidence: no individual clue is decisive on its own, but several independent clues pointing the same direction at the same time meaningfully change the odds.
What is reversal trading? Reversal trading means identifying the end of an established trend and the start of a new one in the opposite direction, rather than a temporary pause within the existing trend. Because no single signal reliably marks this turning point, a disciplined reversal approach requires multiple independent categories of evidence to align before a trade is justified.
A Reversal Is Not a Pullback
This distinction matters enough to state plainly before anything else. A pullback is a brief, shallow pause within a continuing trend — a stock in a strong uptrend dipping 2-3% before resuming higher is a pullback, not a reversal. A reversal is the end of that trend entirely and the start of a new, sustained move in the opposite direction.
The practical consequence: trading every dip as though it might be a reversal means fighting the prevailing trend constantly, which is a losing habit far more often than it pays off. The evidence-based approach in this guide exists specifically to filter out ordinary pullbacks from the much rarer, genuine trend changes.
The Four Pillars of Reversal Evidence
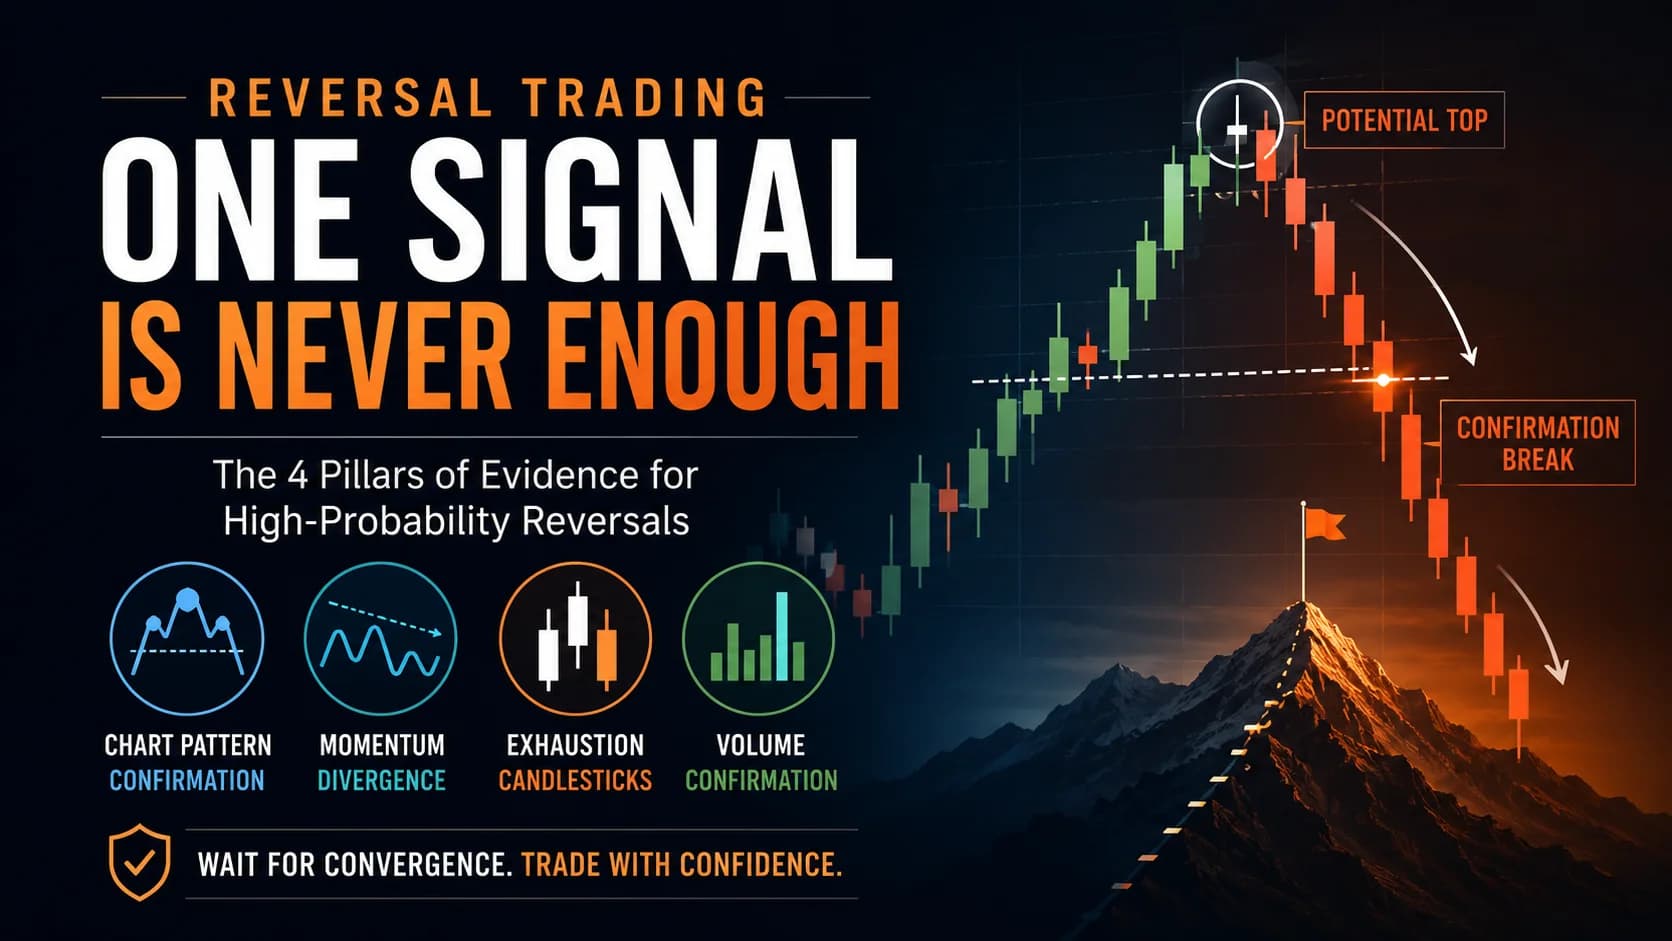
Four independent categories of evidence, taken together, make the case for a genuine reversal. None of the four is sufficient alone.
Chart pattern confirmation. Classic reversal shapes — Head and Shoulders, Double Tops and Bottoms, and others — represent a specific, repeatable story of a trend failing to make further progress. Edwards and Magee's foundational 1948 technical analysis textbook singled out the Head and Shoulders as one of the most reliable reversal patterns, a reputation later empirical work by chart-pattern researcher Thomas Bulkowski has generally supported. The pattern itself is the foundational evidence, but it isn't complete until its confirmation point — a neckline, a prior swing high or low — actually breaks.
Momentum divergence. Price making a new high or low while an oscillator like RSI or MACD fails to confirm with its own new extreme is a warning that the move's underlying momentum doesn't match its price action. This is a genuinely useful early signal, but on its own it's just that — an early warning, not a confirmed reversal. Divergence can persist for a long time in a strong trend without ever resolving into an actual turn.
Exhaustion candlesticks. Specific candle shapes — a doji signaling indecision, a hammer or shooting star signaling a sharp rejection, an engulfing candle signaling a violent change of character — appearing right at a key level add a shorter-term, more immediate piece of evidence. These carry more weight when they show up exactly at the extreme of a larger pattern than when they appear in isolation elsewhere on the chart.
Volume confirmation. At a bottom, a sharp volume spike on the final low — a selling climax, in the classic terminology Edwards and Magee helped popularize — reflects the point where remaining sellers capitulate and sell all at once. At a top, the more common signal is the opposite: volume drying up on the final push higher, suggesting the move lacks real conviction behind it. This connects to the broader relationship between volume and price magnitude covered in the volume breakout guide elsewhere in this hub.
The Convergence Checklist: A Setup Specification
- Component
- Market Conditions Required
- Rule
- An established, meaningful prior trend (up or down) — this framework isn't for calling a turn in a market that's already directionless
- Component
- Time of Day
- Rule
- 9:45 AM–3:30 PM ET for the actual entry trigger, consistent with the general breakout confirmation framework used elsewhere in this hub
- Component
- Stock Selection Criteria
- Rule
- Liquid stocks or ETFs, where chart patterns, divergence readings, and volume signals are all more reliable than on thinly traded names
- Component
- Entry Trigger
- Rule
- Chart pattern confirmation (a neckline or boundary break) is required and non-negotiable; at least two of the remaining three pillars (divergence, exhaustion candlestick, volume signature) should also be present at the time of the break
- Component
- Stop Loss
- Rule
- Beyond the extreme of the reversal pattern itself — the pattern's own structure defines the risk
- Component
- Initial Profit Target
- Rule
- The measured height of the reversal pattern, projected from the confirmation point — the same measure-rule approach used for chart patterns throughout this hub
- Component
- Trade Management
- Rule
- If one pillar contradicts the others (for example, a clean pattern and volume signal but no divergence), treat this as reduced conviction and reduce position size rather than either forcing the trade at full size or abandoning it entirely
- Component
- Invalidation Criteria
- Rule
- The chart pattern's confirmation point fails to actually break — divergence and volume alone, without price confirmation, are not sufficient to justify a reversal trade
| Component | Rule |
|---|---|
| Market Conditions Required | An established, meaningful prior trend (up or down) — this framework isn't for calling a turn in a market that's already directionless |
| Time of Day | 9:45 AM–3:30 PM ET for the actual entry trigger, consistent with the general breakout confirmation framework used elsewhere in this hub |
| Stock Selection Criteria | Liquid stocks or ETFs, where chart patterns, divergence readings, and volume signals are all more reliable than on thinly traded names |
| Entry Trigger | Chart pattern confirmation (a neckline or boundary break) is required and non-negotiable; at least two of the remaining three pillars (divergence, exhaustion candlestick, volume signature) should also be present at the time of the break |
| Stop Loss | Beyond the extreme of the reversal pattern itself — the pattern's own structure defines the risk |
| Initial Profit Target | The measured height of the reversal pattern, projected from the confirmation point — the same measure-rule approach used for chart patterns throughout this hub |
| Trade Management | If one pillar contradicts the others (for example, a clean pattern and volume signal but no divergence), treat this as reduced conviction and reduce position size rather than either forcing the trade at full size or abandoning it entirely |
| Invalidation Criteria | The chart pattern's confirmation point fails to actually break — divergence and volume alone, without price confirmation, are not sufficient to justify a reversal trade |
The Invalidation Criteria row is the single most important discipline in this framework. Divergence and weakening volume can both persist for a long time without ever producing an actual reversal — the chart pattern's confirmation is what turns a plausible warning sign into an actual, tradeable signal.
A Walk-Through: Building the Case at a Bottom
Picture a mid-cap stock — call it ABC — that's fallen steadily for four months, from $70 down to $42. In late in the decline, it makes a low near $42, bounces to $46, then drifts back down over the following two weeks to retest that same area, this time holding at $43 — a slightly higher low. That's the chart pattern pillar: a developing double bottom.
Checking the RSI on the daily chart shows the first low print an RSI reading near 22; the second, higher-price low prints an RSI reading near 34 — a clear bullish divergence, the second pillar. Around the second low, the daily candles show two sessions with long lower wicks and small bodies — hammers, rejecting further downside. That's the third pillar. Finally, the original low in month one came on a sharp volume spike roughly triple the recent average — a selling climax — while the retest in month two occurs on much lighter volume, consistent with exhausted selling pressure rather than fresh conviction. That's the fourth pillar.
All four pillars are present. The confirmation trigger arrives when price breaks back above the double bottom's midpoint, around $46, on renewed volume. The stop goes below $43, the pattern's own low. The measured target projects the pattern's height ($4, from $42 to $46) upward from the breakout point, near $50.
Now picture an alternate version: divergence and volume both look supportive, but price never actually breaks back above $46 — it stalls at $45 and drifts sideways for weeks. That's the Invalidation Criteria in action. Three pillars without the confirming price break isn't a completed setup; it's still just a plausible case waiting for its closing argument.
Where This Framework Breaks Down
The most common failure is trading on divergence or volume alone, without the chart pattern's own confirmation actually breaking. Both of the underlying signals can persist through weeks of continued trending before a reversal ever materializes, and treating either one as sufficient on its own is a well-documented way to fight a trend that has plenty of life left in it.
It also fails when a trader forces a case out of insufficient evidence — finding a plausible-looking pattern and a bit of RSI flattening, then convincing themselves the other pillars are "close enough." The convergence approach only works if the bar for each pillar stays genuinely high; lowering the bar to manufacture a signal defeats the entire purpose of requiring multiple independent confirmations.
And it fails when a trader starts hunting for reversal evidence purely because a trend has run for a long time or moved a large percentage. A trend's duration or magnitude alone isn't evidence of exhaustion — the four pillars need to actually be present, not assumed simply because a move "feels" overextended.

Where the Deeper Mechanics Live
This guide is deliberately a framework rather than a deep dive into any single pillar. For the specific mechanics of chart-pattern-plus-divergence trade setups — including detailed pattern construction and risk management — the companion guide on spotting market reversals covers that ground directly. For the underlying relationship between volume and price magnitude that explains why the fourth pillar carries real weight, the volume breakout guide applies the same logic in a continuation context.
It's also worth knowing that even a textbook reversal pattern can itself fail and reverse a second time — the busted pattern framework covered elsewhere in this hub applies to a failed reversal signal just as it does to a failed continuation breakout.
Tools for Screening Reversal Candidates
Manually checking chart pattern status, RSI divergence, candlestick shape, and volume behavior across a full watchlist isn't realistic without the right tools.
A platform like TradingView provides the charting and indicator overlays needed to check all four pillars on an individual chart, while a scanner like Trade Ideas can screen for a specific combination — stocks near a multi-month low showing bullish RSI divergence, for instance — narrowing a broad universe down to genuine candidates worth a manual four-pillar review.
Where This Fits a Complete Trading Plan
Reversal trading is inherently a bet against the currently prevailing trend, which makes it both psychologically harder and structurally riskier than trading in the direction of an established move. Building the discipline to wait for genuine convergence — rather than acting on the first hint of exhaustion — belongs alongside a broader trading plan that accounts for position sizing and risk management specific to counter-trend setups.
For the rest of the reversal-specific setups this framework introduces, the Strategies Hub organizes the full library by market condition.
Frequently Asked Questions About Calling a Reversal
What is the single best indicator for spotting a reversal?
Divergence is probably the most useful leading signal available, but price pattern confirmation and volume behavior are what turn that early warning into an actual, tradeable setup. Treating any one tool as sufficient on its own is a common and costly mistake.
Key Takeaway: Use divergence as an early alert, not as a standalone entry signal — confirmation still has to come from price.
How many of the four pillars need to align before a reversal is worth trading?
Requiring the price confirmation as a hard minimum, rather than treating it as optional alongside the other evidence, is what prevents this framework from being used to justify a trade based purely on divergence or volume alone — both of which can persist for a long time without an actual reversal occurring.
Key Takeaway: Never skip the price-pattern confirmation, even when the other pillars look compelling on their own.
What's the actual difference between a reversal and a pullback?
A 2-3% dip within a strong uptrend is a routine pullback. A multi-week topping pattern that breaks a major trendline or moving average is a different scale of event entirely. Confusing the two leads to treating ordinary trend pauses as reversal opportunities far too often.
Key Takeaway: Judge the scale and character of the move, not just its direction, before labeling it a reversal candidate.
Does divergence always mean a reversal is coming?
Treating divergence as a trigger on its own is a well-documented trap; a stock can show bearish divergence for weeks while continuing to grind higher. The chart pattern's own confirmation is what separates a genuine turn from a warning that never materializes.
Key Takeaway: Treat divergence as a reason to watch more closely, not as a reason to enter a trade by itself.
What does volume actually confirm at a market top versus a bottom?
These are different volume signatures for a reason — a bottom typically resolves through a sudden, panicked event, while a top typically resolves through a slower fading of enthusiasm. Looking for the same volume pattern at both types of turning points misses this distinction.
Key Takeaway: Expect a volume spike at bottoms and a volume drought at tops — they're different signatures, not the same one in reverse.
Why is reversal trading considered harder than trend-following?
Waiting for genuine convergence across multiple pillars, rather than acting on the first sign of exhaustion, requires real patience — and once a position is on, admitting the evidence was wrong and exiting quickly requires real discipline.
Key Takeaway: Expect reversal trading to demand more patience and discipline than simply following an established trend.
Can a chart pattern itself fail after it appears to confirm a reversal?
This is a real risk even when all four pillars appeared to align at the original confirmation. No combination of evidence eliminates the possibility that the market simply does something different from what the evidence suggested was likely.
Key Takeaway: Even a fully confirmed reversal setup can still fail — plan the stop-loss accordingly rather than assuming the case is airtight.
Why does a stock's trend length or size not count as reversal evidence on its own?
A trend can remain intact for far longer than seems reasonable, and "it's gone too far, it must turn soon" is exactly the kind of reasoning the convergence framework is designed to replace with actual, checkable evidence.
Key Takeaway: Require the four pillars to actually be present — don't substitute a trend's duration or size for genuine evidence.
How should conflicting evidence between the four pillars be handled?
This middle-ground approach respects that the framework is about weighing evidence, not applying a rigid pass/fail test. A setup with three strong pillars and one ambiguous one is still meaningfully better evidence than a setup with only one or two pillars present at all.
Key Takeaway: Scale position size to the strength of the overall case rather than treating every setup as strictly qualifying or disqualifying.
Where should someone start if they want to go deeper into any single pillar?
This guide is intentionally a framework tying the four pillars together rather than a deep dive into any one of them, since each pillar has enough depth to warrant its own dedicated treatment elsewhere in this hub.
Key Takeaway: Use this guide for the overall convergence framework, and the linked companion guides for depth on any individual pillar.
Disclaimer
Article Sources
- Edwards, R. D., & Magee, J. (1948). Technical Analysis of Stock Trends. — the foundational technical analysis textbook that established the Head and Shoulders pattern's reputation for reliability and popularized the "selling climax" terminology referenced in this guide.
- Bulkowski's Encyclopedia of Chart Patterns — ThePatternSite.com - long-running empirical research on chart pattern reliability, including the Head and Shoulders top, referenced throughout this guide.
Was this helpful?
Be the first to weigh in

Written by
Kazi Mezanur RahmanFounder, independent researcher, and editor of DayTradingToolkit. A one-person publication focused on risk-first trading education and documented tool research. He trades his own capital as a retail trader and combines personal market experience with systematic primary-source research.
Keep Reading
Strategies
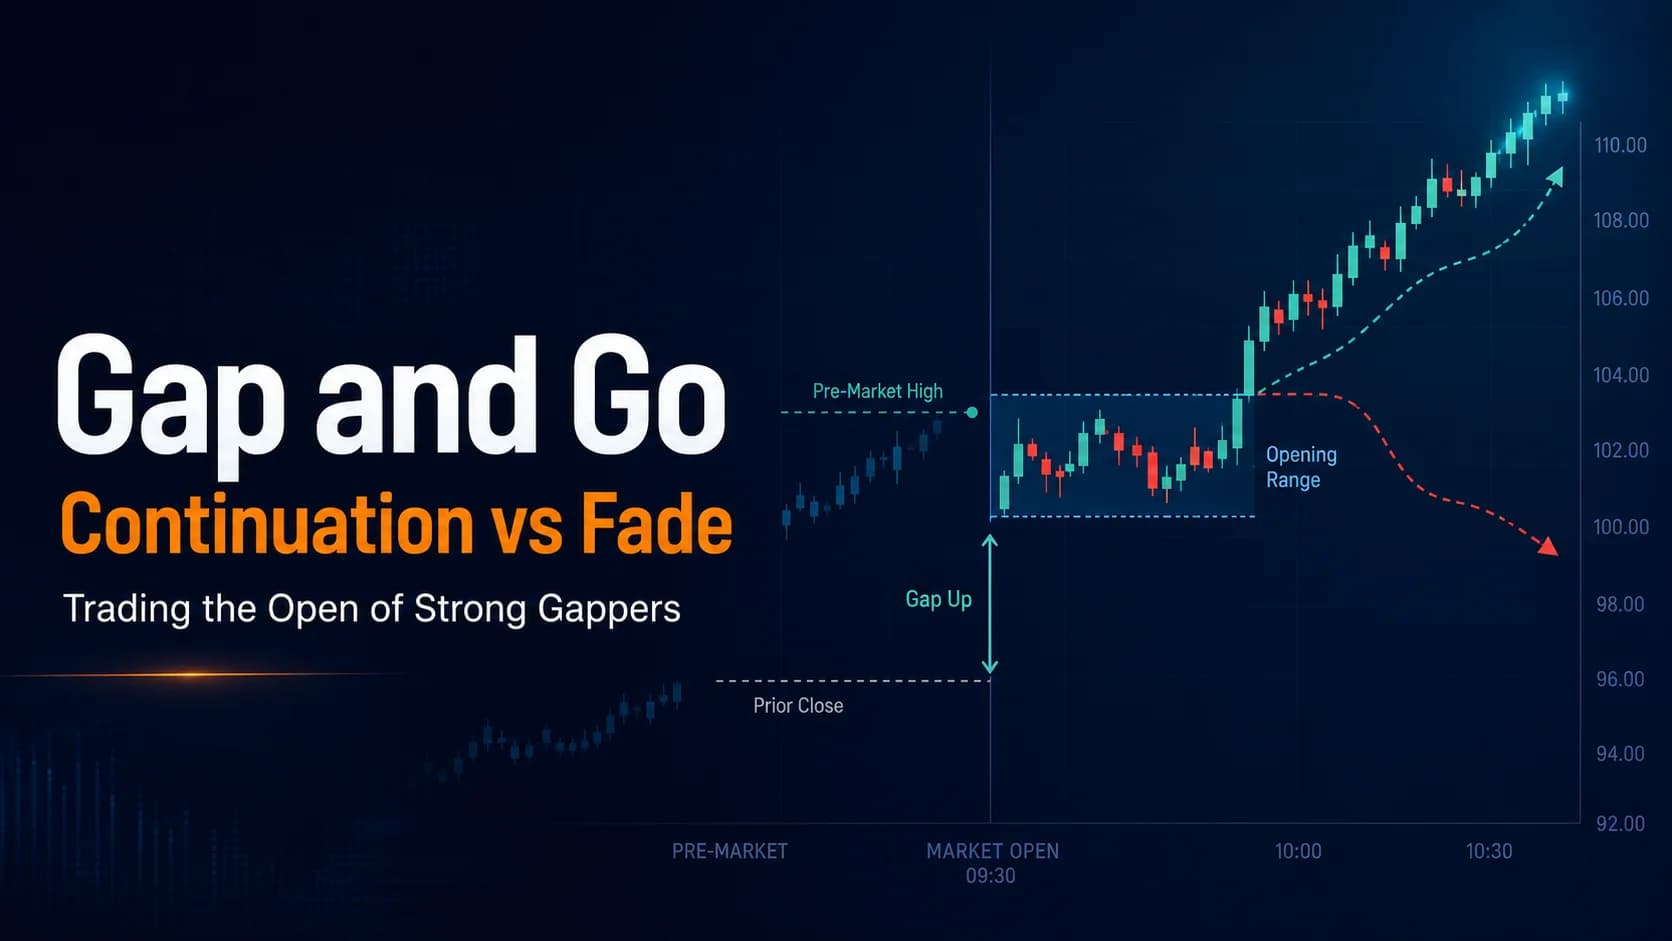
The Gap and Go Strategy: Trading the Open of Strong Gappers
Research shows most gaps reverse during the day, not continue. This guide covers how to spot the ones that genuinely keep going, and how to trade them.
Strategies
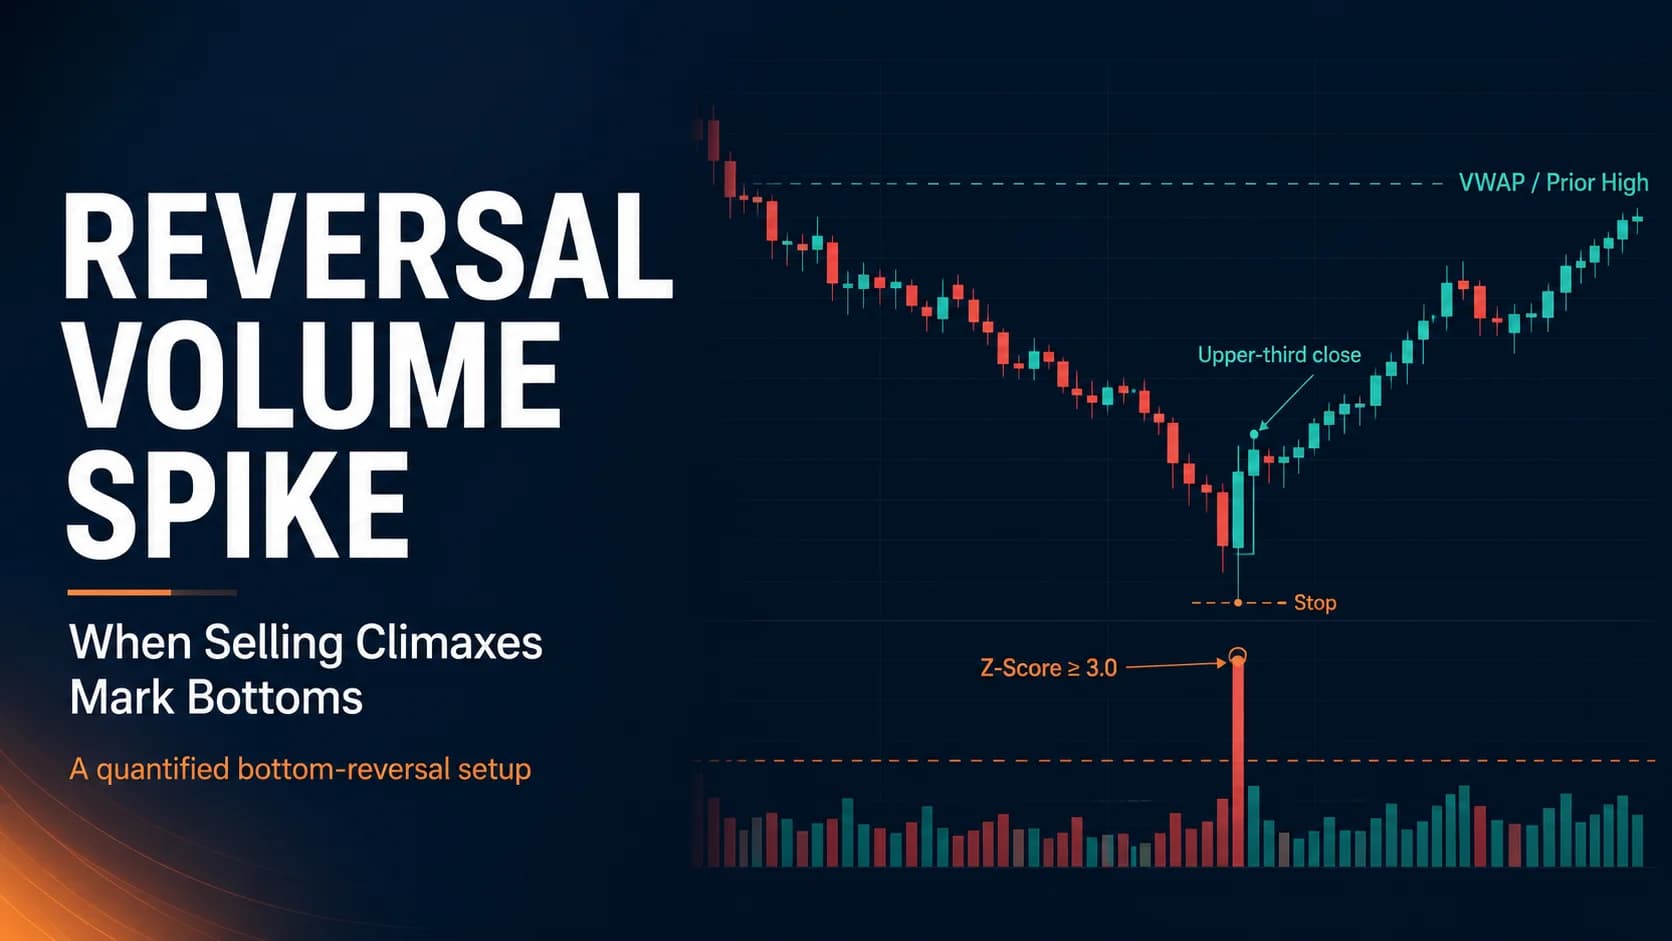
The Reversal Volume Spike Strategy: When Selling Climaxes Mark Bottoms
Not every volume spike marks a real bottom, and not every bottom needs full capitulation. This guide covers the statistical setup for trading the difference.
Strategies
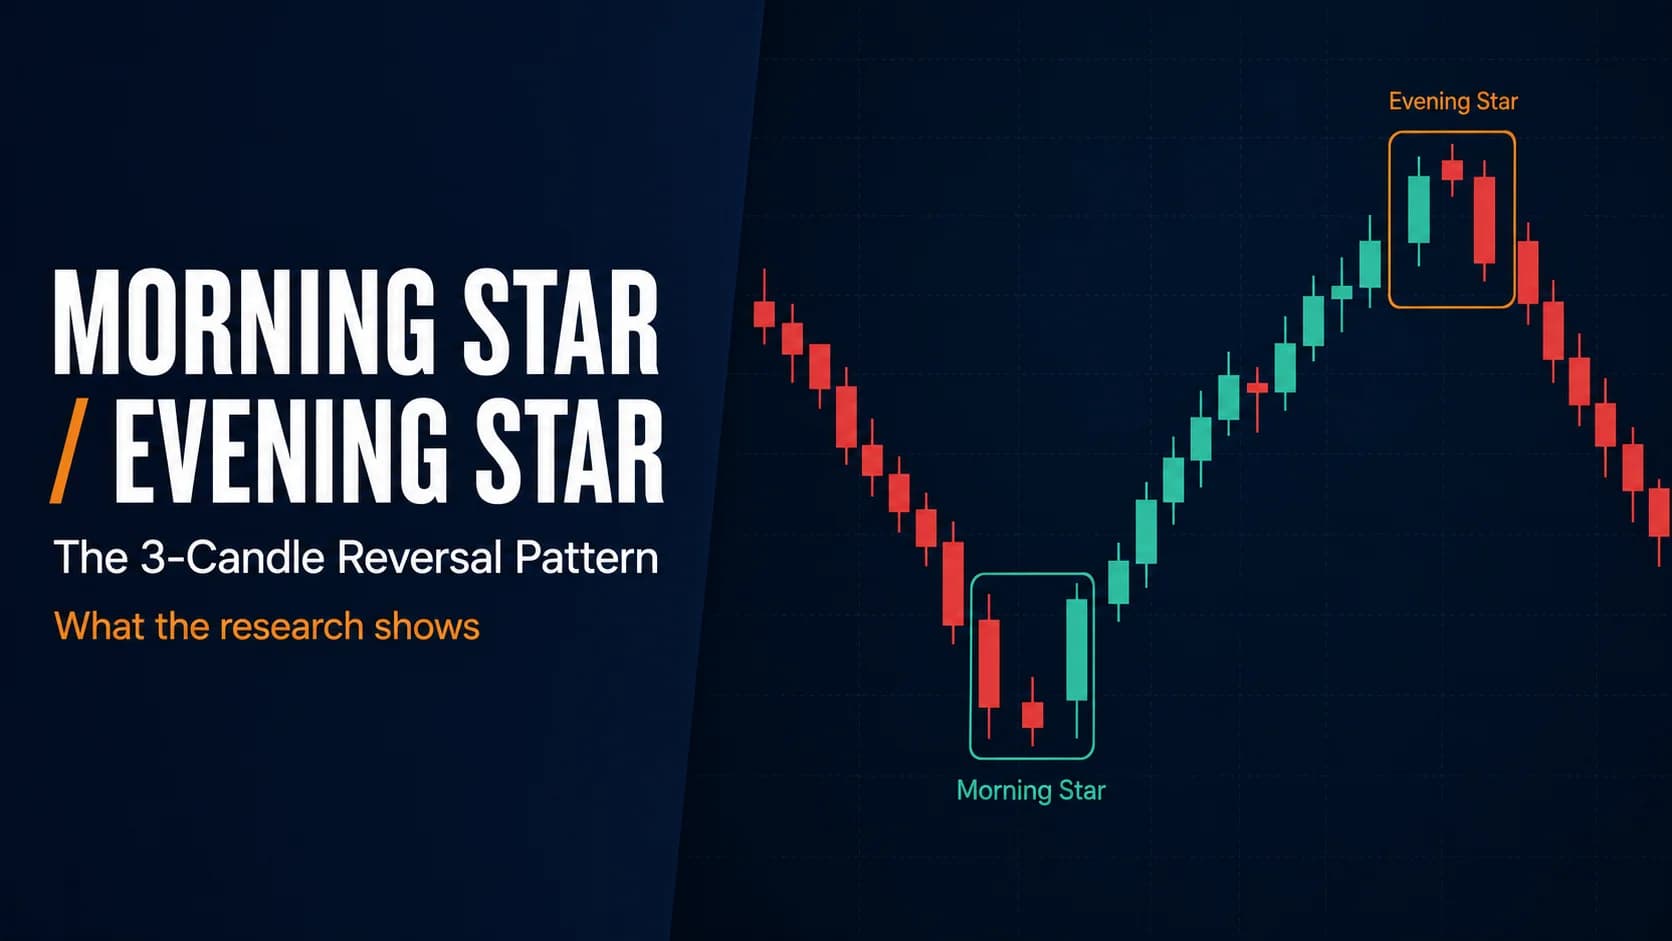
The Morning Star / Evening Star Reversal Strategy
Candlestick research is genuinely split on these patterns. This guide covers the classic 3-candle setup, the real evidence, and how to trade it honestly.

Strategies
The Trader's Playbook: How to Day Trade the Market Close (The Final Hour)
Learn DayTradingToolkit's Power Hour playbook: how to read the day's character, trade the Range Day breakout setup, and why this playbook steps aside before the closing cross.
Comments
No comments yet. Be the first to share your thoughts.