Beginner’s Guide: Post 18
Let’s be blunt. More traders fail because of poor risk management in trading than for any other reason. Full stop.
It’s not bad strategies, bad indicators, or bad luck that blows up accounts—it’s the failure to protect capital. This is the lesson that most traders learn far too late, after their accounts have been decimated and their confidence shattered. We’re going to make sure that doesn’t happen to you.
This chapter is the single most important one in our entire beginner’s series. Forget about finding the perfect entry signal for a moment. Forget about hitting home runs. Today, we’re talking about survival. Because the goal of a new trader isn’t to get rich quick; it’s to stay in the game long enough to learn how to get rich, slowly. And that starts and ends with mastering day trading risk management.
Learning Objective: After this chapter, you will understand that capital preservation is your primary job as a trader and will be introduced to the core pillars of a sound risk management framework.
What You’ll Learn:
- Why risk management in trading is an offensive weapon, not a defensive chore.
- The painful math that makes recovering from large losses so difficult.
- The three core pillars of practical risk management: Stop-Losses, Position Sizing, and Risk/Reward.
- The power of the “1% Rule” and why it’s a non-negotiable for beginners.
Prerequisites: Introduction to Basic Indicators (Keep it Simple!)
Shifting Your Mindset: Risk Management is Your #1 Offensive Weapon
When most beginners hear “risk management,” they think of playing defense. They see it as a boring, restrictive chore. A seatbelt that’s uncomfortable but necessary. This is the wrong way to look at it.
The Beginner’s View: A Boring Chore
The beginner thinks, “If I risk less, I’ll make less. I need to risk big to win big.” This mindset is a direct ticket to the trader graveyard. It focuses entirely on the potential reward of a single trade while completely ignoring the catastrophic consequences of being wrong.
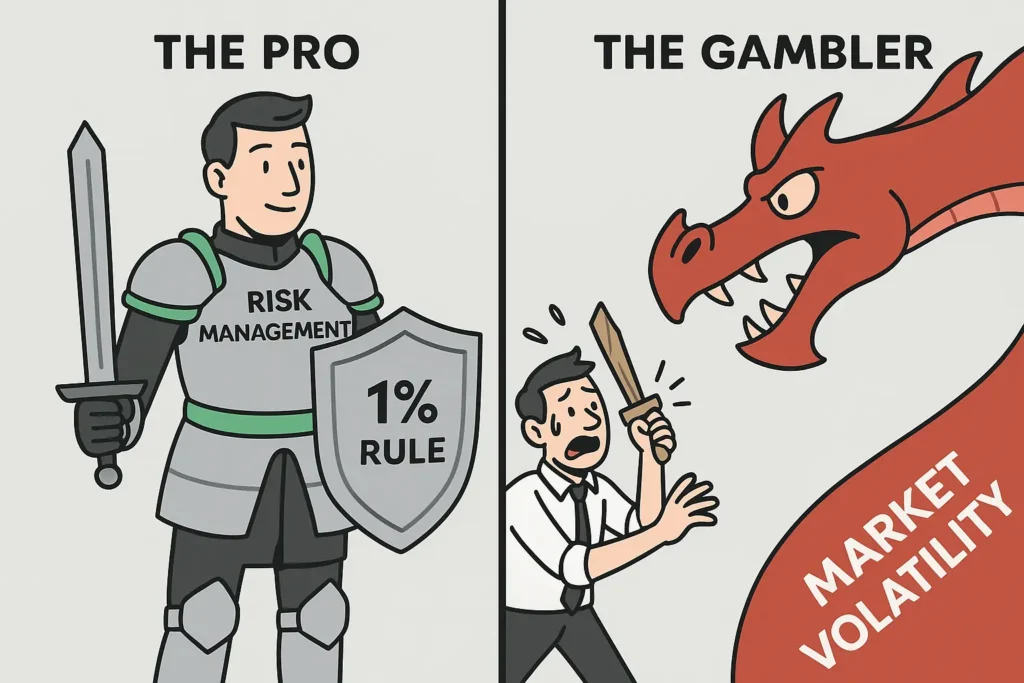
The Professional’s View: The Armor That Lets You Win the War
Here’s the secret: professional traders see risk management in trading as their primary offensive tool.
It’s the armor that lets them go into battle every day without the fear of a career-ending injury. It’s the discipline that keeps them in the game after an inevitable string of losses. Meticulous risk management is what gives them the psychological stability and confidence to execute their strategy flawlessly, day after day. They don’t fear risk; they respect it, measure it, and manage it down to the dollar.
Capital Preservation: Why Your First Job is Not to Make Money
Your first—and most important—job as a trader is not to make money. It’s to not lose the money you already have. This is the principle of capital preservation in trading.
Your Trading Capital is Your Oxygen
Our team uses this analogy constantly: your trading capital is your oxygen tank. As long as you have oxygen, you can stay in the game. You can learn, you can adapt, you can wait for better opportunities. The moment your tank runs empty, the game is over. Every decision you make should be filtered through the lens of protecting that oxygen supply.
The Painful Math of Recovering from Losses
Here’s why protecting your capital is so critical. Losing money is easy. Making it back is exponentially harder.
Look at this table. It shows the percentage gain required to get back to your starting point after a specific loss.
| Loss of Capital | Gain Needed to Recover |
| -10% | +11% |
| -25% | +33% |
| -50% | +100% |
| -75% | +300% |
| -90% | +900% |
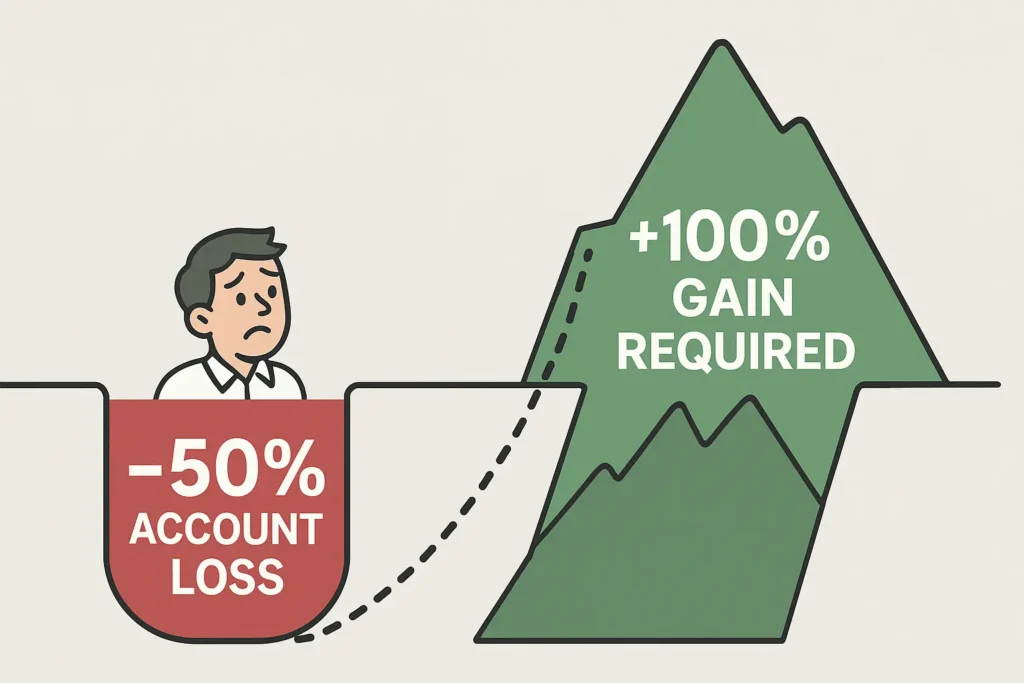
Notice that cliff at the 50% mark? If you lose half your account, you need to double your remaining capital just to get back to where you started. That is an enormous psychological and financial hurdle. Effective trading risk management strategies are designed to prevent you from ever getting into that deep of a hole.
The “Pyramid of Risk”: A Top-Down Approach
So, how to manage risk in trading like a professional? You think from the top down. Here’s a simple mental model we call the Pyramid of Risk.
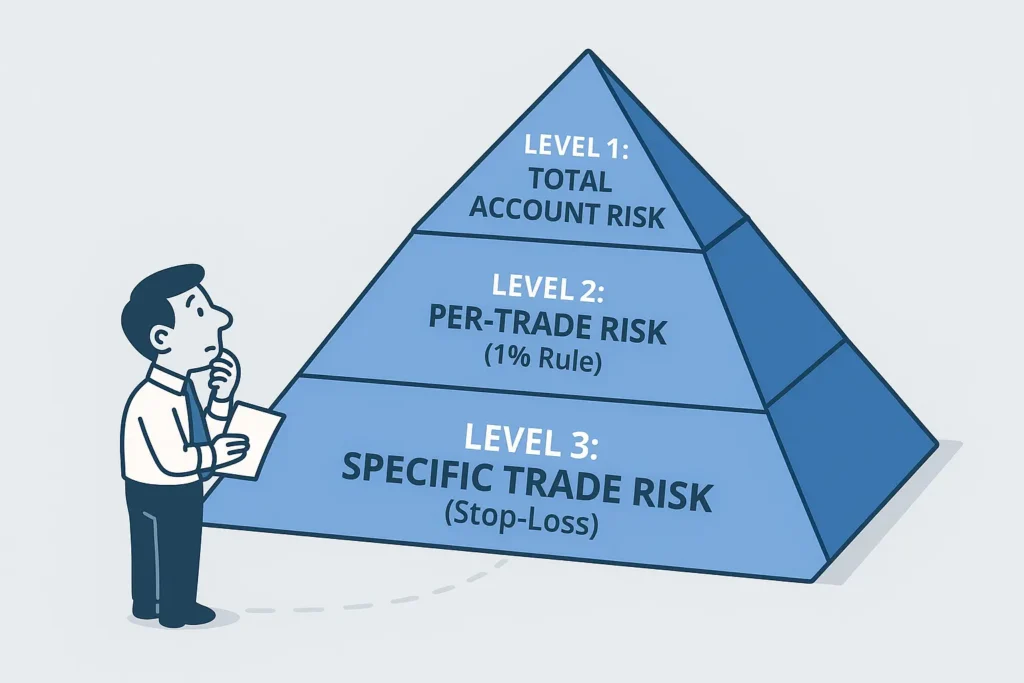
Level 1 (Top): Your Total Account Risk
This is the entire pyramid—your total pool of risk capital. The #1 job is to protect this at all costs.
Level 2 (Middle): Your Per-Trade Risk
This is where you make your most important rule. You decide that no single trade will ever be allowed to inflict significant damage on your total account. This is where the famous 1% Rule lives. You pre-define the maximum percentage of your total account you are willing to lose on any single idea.
Level 3 (Bottom): Your Specific Trade Risk
This is the risk on the trade itself, defined by your stop-loss placement. Where do you put your stop-loss to prove your trade idea is wrong? The distance between your entry and your stop is your per-share risk.
Pros think this way: they start with their max risk (Level 2) and use the trade’s specific risk (Level 3) to calculate their position size, ensuring the total pyramid (Level 1) is always safe.
The Three Pillars of Practical Risk Management
To put this pyramid into practice, you need three tools that work together as a single, cohesive system.
Pillar 1: The Stop-Loss Order (Your Eject Button)
This is your non-negotiable escape hatch on every trade. It’s the pre-defined price point where you accept your trade idea was wrong and get out automatically, preventing a small loss from becoming a big one. It defines your “Per-Share Risk.”
- Deep Dive: We cover this in full detail in our next chapter, What is a Stop-Loss Order and Why You MUST Use It.
Pillar 2: Position Sizing (Controlling Your “Bet Size”)
This is the mathematical link between your stop-loss and your account risk. Based on your stop-loss distance and your 1% rule, you calculate the exact number of shares to trade. This ensures that if your stop is hit, you only lose your pre-defined 1% of total capital.
- Deep Dive: This crucial skill is covered in detail in Position Sizing for Beginners.
Pillar 3: The Risk/Reward Ratio (Is the Juice Worth the Squeeze?)
This is your trade filter. Before entering, you compare your potential loss (the risk) to your potential gain (the reward). If the potential reward isn’t significantly larger than your risk (ideally at least 2:1), you simply pass on the trade.
- Deep Dive: We break this down fully in Understanding the Risk/Reward Ratio.
These three pillars are not separate ideas. They are one system.
The Tale of Two Traders: A Powerful Example
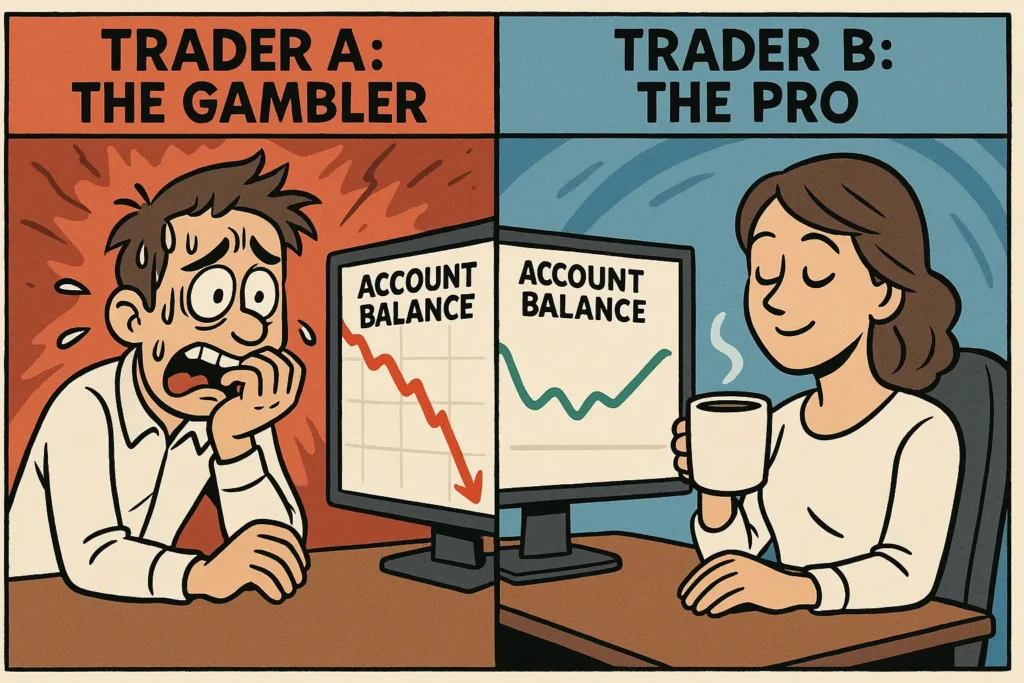
Let’s see this in action. The difference between a pro and a gambler isn’t that the pro is a better guesser; it’s that the pro is a better loser.
Meet Trader A (“The Gambler”) and Trader B (“The Pro”)
Both start with a $20,000 account. Both have a solid strategy, but they hit an unlucky streak and have four losing trades in a row.
The Scenario
- Trader A doesn’t have strict rules. He feels confident and decides to risk 15% of his account on each trade.
- Trader B is a professional. She follows her plan religiously and risks exactly 1% of her account on each trade.
The Aftermath: The Math of Survival
Here’s what happens to their accounts:
Trader A (The Gambler):
- Start: $20,000
- Loss 1 (-15%): -$3,000 ➝ Balance: $17,000
- Loss 2 (-15%): -$2,550 ➝ Balance: $14,450
- Loss 3 (-15%): -$2,168 ➝ Balance: $12,282
- Loss 4 (-15%): -$1,842 ➝ Final Balance: $10,440
Trader B (The Pro):
- Start: $20,000
- Loss 1 (-1%): -$200 ➝ Balance: $19,800
- Loss 2 (-1%): -$198 ➝ Balance: $19,602
- Loss 3 (-1%): -$196 ➝ Balance: $19,406
- Loss 4 (-1%): -$194 ➝ Final Balance: $19,212
After the exact same “bad luck,” Trader A has lost nearly 48% of his account and is emotionally destroyed. He’s on the verge of blowing up. Trader B is down less than 4%, is psychologically unfazed, and is ready to execute her next trade with a clear head. That is the power of risk management in trading.
Your First, Most Important Rule: The 1% Rule
If you take only one thing away from this lesson, let it be this: Never risk more than 1% of your total account value on any single trade. As a risk management for beginners rule, this is non-negotiable.
The Casino’s “House Edge” Analogy
Why does this work? Think of a casino. They make billions, but they don’t know if the next spin of the roulette wheel will be a winner or a loser. They don’t have to. They just know that over thousands of spins, they have a small statistical edge (the “house edge”).
Their business model relies on two things:
- Having a positive edge.
- Surviving long enough for that edge to play out.
They ensure survival by setting table limits, which guarantees that no single high-roller can bankrupt the casino in one night. Your 1% rule is your personal “table limit.” It ensures you can survive any unlucky streak and stay in the game long enough for your own trading edge to work in your favor over hundreds of trades. For more on the official rules and risks of trading, you can always consult resources from FINRA.
Summary & Key Takeaways
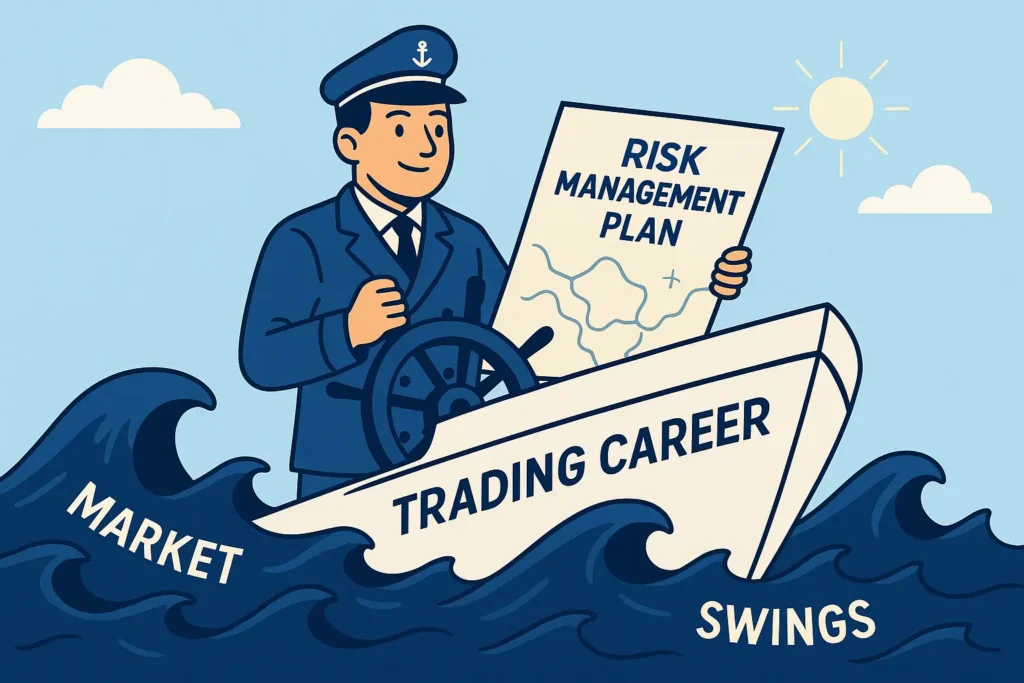
Your trading plan is where you must formally write down and commit to these rules.
- Risk Management is Offense: It’s the tool that ensures your survival and gives you the confidence to trade without fear.
- Capital Preservation is Job #1: Your first goal is not to make money, but to protect the capital you have. Remember the painful math of recovery.
- The Three Pillars are One System: Stop-Losses, Position Sizing, and Risk/Reward work together to translate your risk rules into action.
- Embrace the 1% Rule: As a beginner, never risk more than 1% of your account on a single trade. This is your key to longevity.
Frequently Asked Questions (FAQ)
What is the golden rule of risk management in trading?
Quick Answer: The golden rule is to never risk more than a small, pre-defined percentage of your total trading capital on any single trade, typically 1-2%.
This rule, often called the “1% rule,” is the cornerstone of capital preservation. It ensures that no single trade, no matter how confident you are, can cause significant damage to your account. This discipline allows you to survive the inevitable losing streaks that all traders face.
Key Takeaway: Always risk a small, fixed percentage of your total account on every trade, without exception.
Why is risk management more important than having a winning strategy?
Quick Answer: Because even a highly profitable strategy will fail if a few large, uncontrolled losses wipe out all the previous gains and your capital.
Our team has seen traders with a 65% win rate go broke because their losing trades were five times larger than their winners. Conversely, a trader with a 45% win rate can be very profitable if their winning trades are consistently three times larger than their losing trades. Risk management controls the size of your losses, which ultimately determines long-term profitability.
Key Takeaway: Your profitability is a function of how much you win and how much you lose, not just how often you win.
How do you avoid blowing up your trading account?
Quick Answer: You avoid blowing up by applying strict risk management on every trade: always using a stop-loss and never risking more than 1-2% of your capital.
Blowing up an account is almost never the result of one bad trade. It’s the result of a series of mistakes: not using a stop-loss, risking too much per trade, and then “revenge trading” with even bigger size to try and win it back. A disciplined process built on the three pillars of risk management makes blowing up a mathematical near-impossibility.
Key Takeaway: A disciplined process with a hard stop-loss and a 1% risk rule is the ultimate defense against blowing up.
How does trading psychology affect your ability to manage risk?
Quick Answer: Emotions like fear and greed are the primary reasons traders violate their own risk management rules, leading to catastrophic losses.
Fear can make you widen your stop-loss because you don’t want to realize a loss. Greed can make you trade too large, violating your position size rules. A written trading plan with hard risk rules is designed to take the decision-making process out of your hands when you are emotional and most vulnerable.
Key Takeaway: Your risk management plan is your logical shield against your own emotional impulses.
Next Steps: Learning to Use Your First Tool
You now understand the philosophy of survival. It’s time to get practical and master the first and most critical tool in your risk management toolkit. In the next chapter, we will do a complete deep dive into the stop-loss order.
Ready to build your armor? Let’s start here: Chapter 19: What is a Stop-Loss Order and Why You MUST Use It
